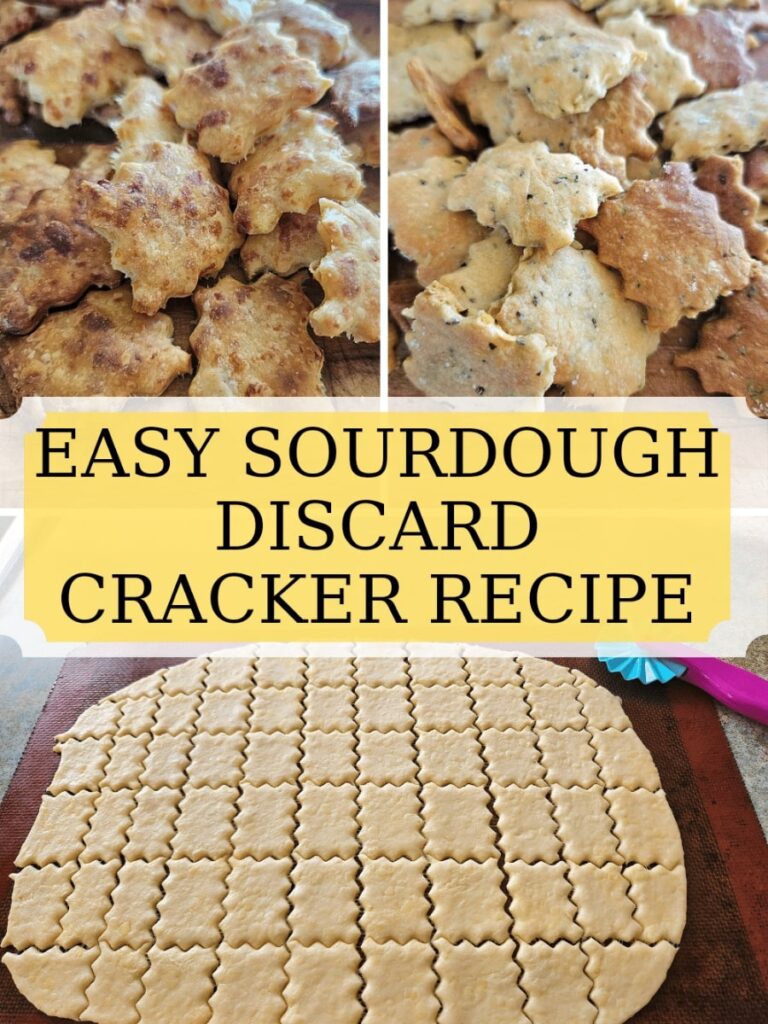
Easy Sourdough Discard Cracker Recipe
If you enjoy eating crackers, you will definitely love this sourdough discard cracker recipe! If you are overflowing with sourdough discard you will love this recipe or my breakfast recipes like Sourdough Discard Waffle and Sourdough Discard Pancakes!
Ill have a video a little farther down below showing you how easy these crackers are to make. The flavour combinations are endless, they are healthier for you to eat and did I mention taste oh so good!
Wether you want a good cheesy cracker or herbed cracker you can make it pretty easily all in the comfort of your own home.
Your home will smell so amazing baking these crackers in the oven and takes minimal time from mixing it to crunching down on them. All you need is a few key ingredients to get you started on your way!
This post contains affiliate links which means I may earn a small commission if you choose to purchase at no extra cost to you. Policy link here.
How To Make Sourdough Crackers Video
What You Will Need
Ingredients
While you do not need a whole lot to make these sourdough discard crackers, there are a few key ingredients.
Sourdough Starter: You will need to have sourdough starter to make these crackers. You don’t need a lot if you want to make a batch of crackers just about 3/4 cup. I use sourdough discard for this recipe.
Cheese: I find having two different cheeses to give this recipe a really delicious kick. The sharper the cheese the more flavourful the crackers. I normally just do a mix of tasty cheese and parmesan, but another aged cheese could be really fun too. Have fun with the flavour combinations.
Butter: Do not skip the butter! This is what gives the crackers their delicious crispy crunch and just taste so good!
Sea Salt: I love salt, salt gives the crackers a good flavour. You can use sea salt or Himalayan salt. I prefer to use a good quality salt in my cooking.
Flour: I use Khorasan white flour as it’s light and fluffy but pretty much any flour should do.
Supplies
SILICONE MAT or parchment paper: I do love using a silicone mat because it’s sturdier than parchment paper and it’s reusable. Here’s a link if you are looking for a good quality one!
A bowl for mixing the ingredients.
A knife or RAVIOLI CUTTER for slicing the crackers into desired shape. The ravioli cutter gives the crackers a really cute edge if you want something extra special!
Flavour Combination Ideas
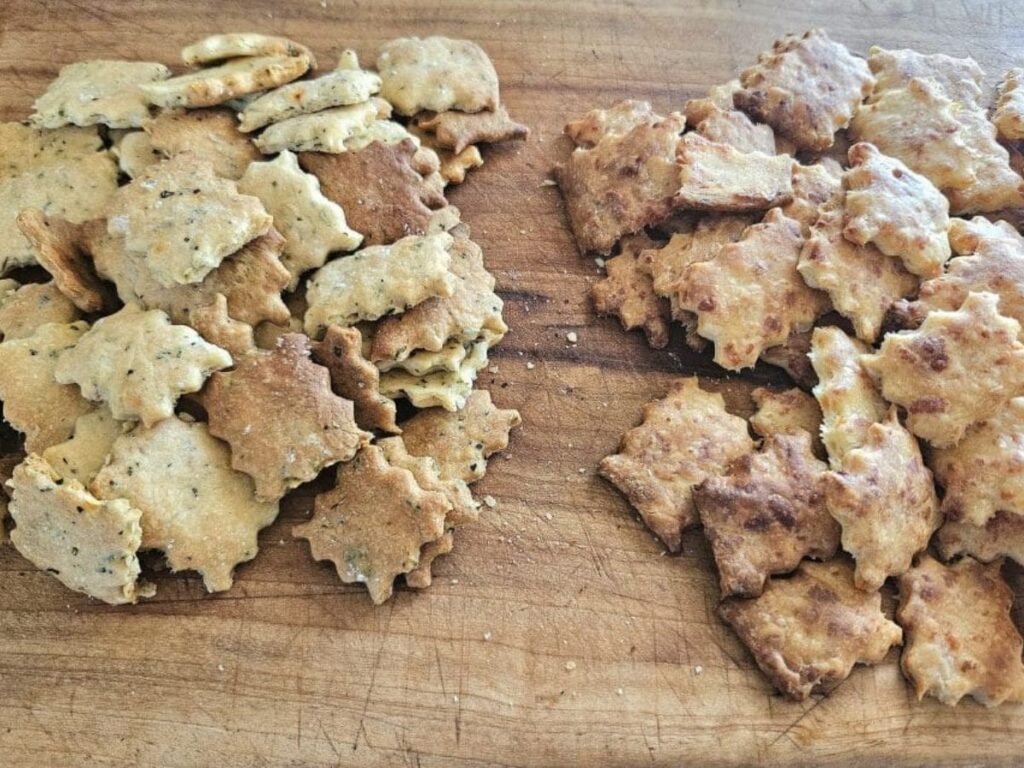
There are so many different flavour combinations you could try with sourdough discard crackers. Here are a few examples if you feel like having fun.
- Try adding 2 tbsp of mixed herbs into your mixture.
- Make a sour cream and onion mix. Recipes can be found online and add 3 tbsp to your mixture!
- Add fresh garlic and dried rosemary or dried rosemary into your mix!
- Add some small seeds like poppy or sesame seeds into your sourdough mix.
- Try adding some prechopped diced fruit with a bit of sugar for a sweet cracker.
As you can see the possibilities are really quite endless!
Step By Step Instructions For Sourdough Crackers
This recipe is not hard I promise! It’s really quite simple and basic but here it goes!
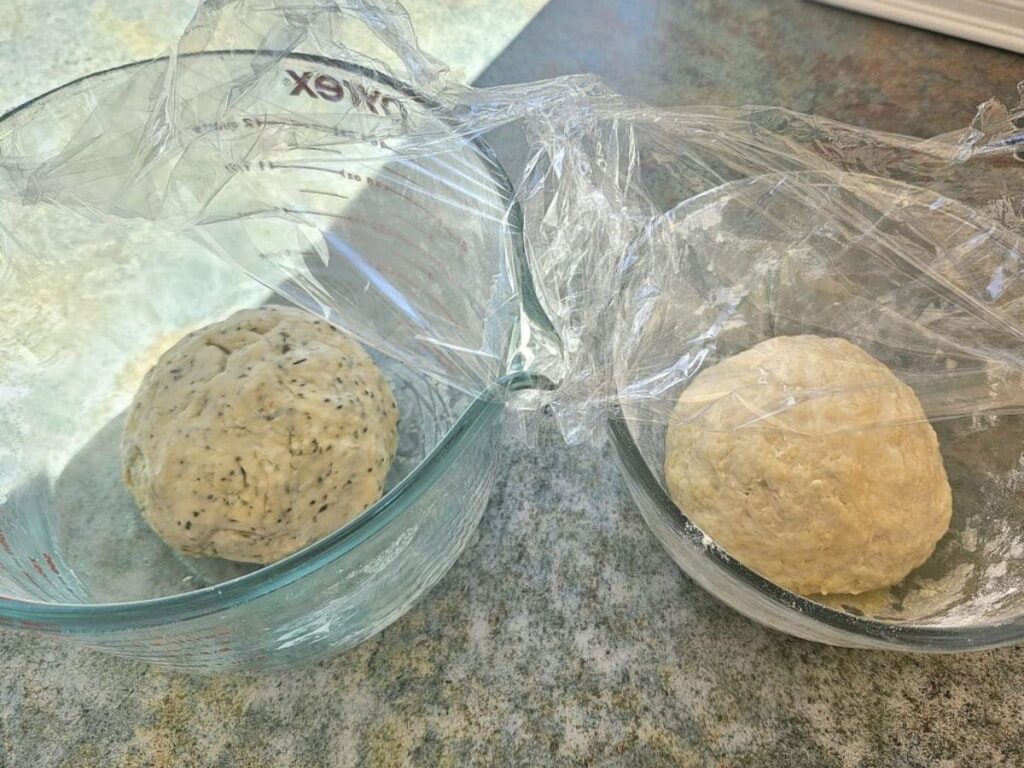
- Mix your sourdough starter, melted butter, grated cheeses, salt and flour all together until they form a somewhat hard ball.
2. Let this sourdough ball ferment for about 4-6 hours to ferment the added flour and for the health benefits. If you don’t want to wait you can skip the fermenting step.
3. Wrap the ball in cling wrap and place it in the fridge for about half an hour. This will make it easier to roll out. You will want to do this step I promise!
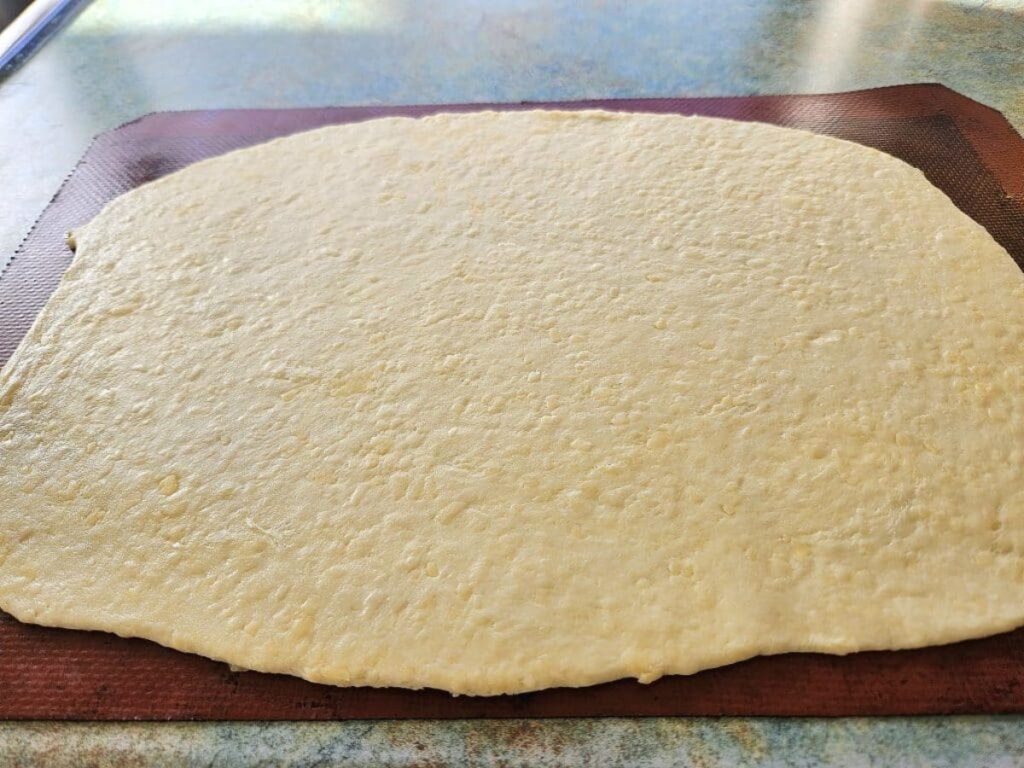
4. Preheat oven to 180C/ 355F and roll out the sourdough ball till it’s about a 1/4in thick either on a silicone mat or on parchment paper. I really love having and using a silicone mat. Here is one if you are interested in looking.
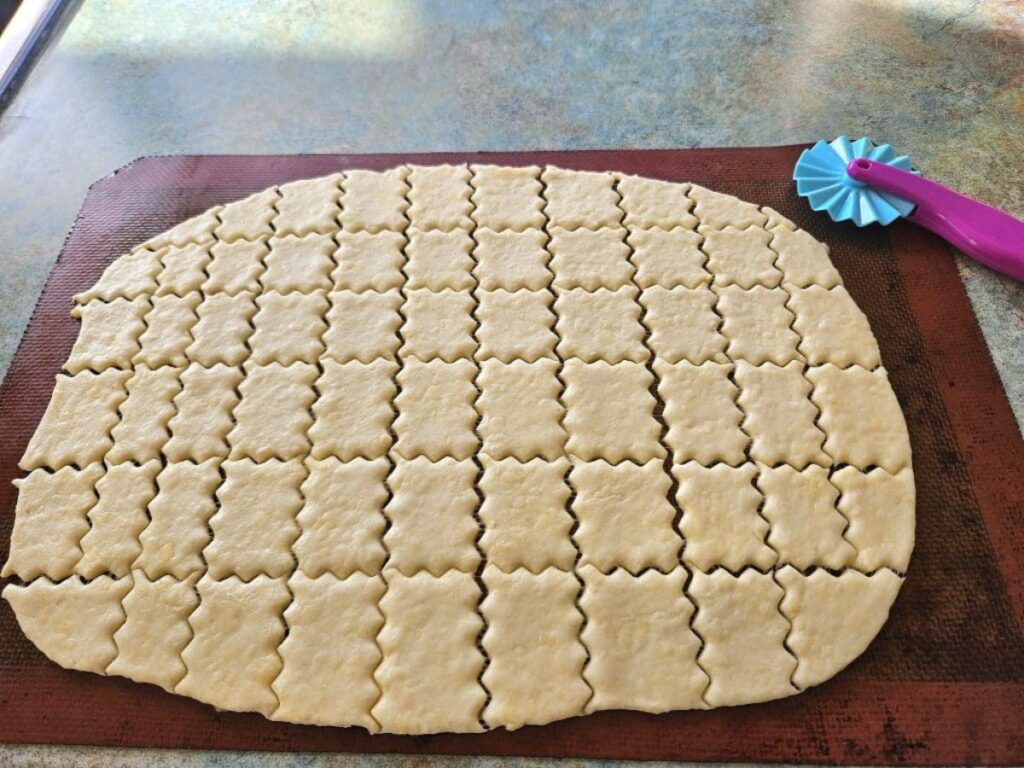
5. Use a knife or RAVIOLI CUTTER and cut into the desired size both length wise and width wise. In this case I actually used my kid’s playdough cutter because it had the cool edges! Yea I know it was clean I promise! But it gave it the pretty edges I so wanted!
6. Bake for 25 minutes and rotate halfway through so they cook evenly. Sometimes I will turn it off after the 25 minutes and leave the crackers still in the oven with the door slightly open. This lets them keep drying out without burning.
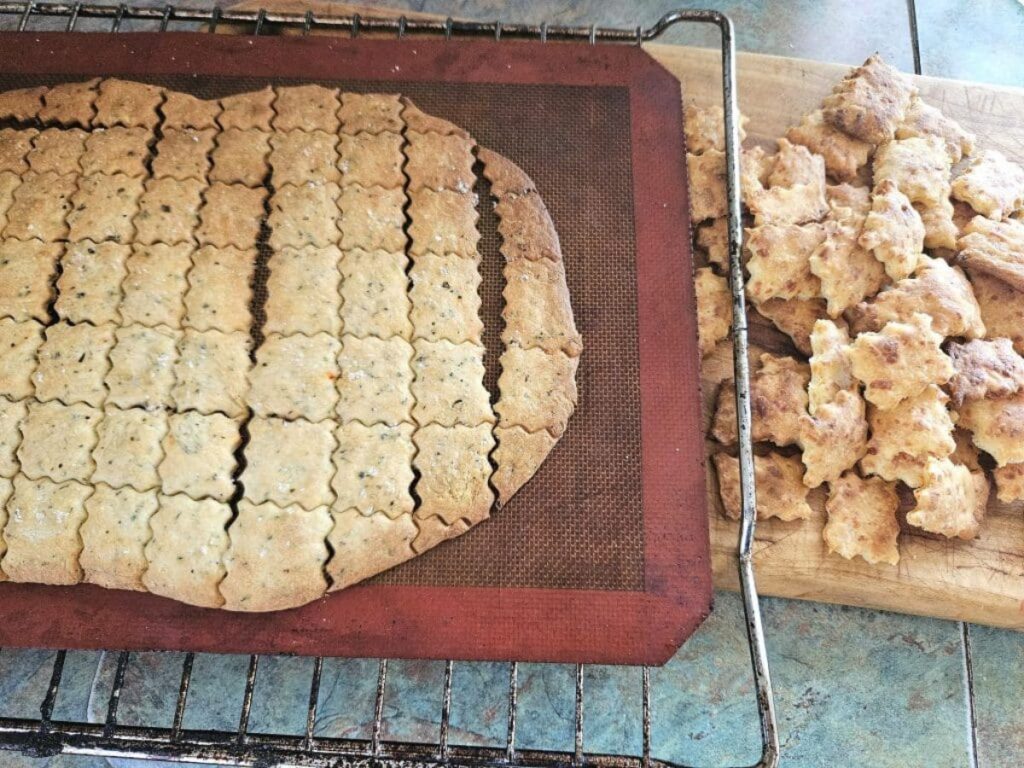
7. Take crackers out and let them dry on a cooling rack. Once they are cool to the touch, break them apart and enjoy. Store in an airtight jar or container away from direct sunlight and enjoy! They can last a couple weeks if properly dried out on the counter!
Success Tips
- I find placing the dough mixture into the fridge for 30 minutes or so really helps when you want to roll it out. It makes the mixture less sticky and easier to handle so you don’t have to add more flour onto them.
- If your crackers still need a bit more time but you don’t want them to burn leave them in the hot oven with the door slightly, so they keep dehydrating but not actually cooking.
- Let them cool completely before placing them in an airtight container so they don’t go soggy!
- The thinner you are able to make your crackers the crispier they will be. But watch them they won’t need as long in the oven if they are very thin.

Sourdough Cheese Cracker Recipe
An easy crunchy sourdough discard cracker recipe you will love. Thin, flavourful crackers that have an excellent crunch to them.
Ingredients
- 3/4 cup sourdough discard
- 1/4 cup melted butter
- 3/4 cup grated cheese of choice
- 1/4 cup parmesan cheese
- 1/2 cup flour
- 1 tsp sea salt
Instructions
- Mix your sourdough starter, melted butter, grated cheeses, salt and flour all together until they form a somewhat hard ball.
- Let this sourdough ball ferment for about 4-6 hours to ferment the added flour and for the health benefits. If you don't want to wait you can skip the fermenting step.
- Wrap the ball in cling wrap and place it in the fridge for about half an hour. This will make it easier to roll out. You will want to do this step I promise!
- Preheat oven to 180C/ 355F and roll out the sourdough ball till it's about a 1/4in thick either on a silicone mat or on parchment paper. I really love having and using a silicone mat.
- Use a knife or RAVIOLI CUTTER and cut into the desired size both length wise and width wise. In this case I actually used my kid's playdough cutter because it had the cool edges! Yea I know it was clean I promise! But it gave it the pretty edges I so wanted!
- Bake for 25 minutes and rotate halfway through so they cook evenly. Sometimes I will turn it off after the 25 minutes and leave the crackers still in the oven with the door slightly open. This lets them keep drying out without burning.
- Take crackers out and let them dry on a cooling rack. Once they are cool to the touch, break them apart and enjoy. Store in an airtight jar or container away from direct sunlight and enjoy! They can last a couple weeks if properly dried out on the counter!
How To Store Sourdough Crackers
You can store your sourdough crackers in an airtight jar, container or a plastic ziploc bag. Store them away from direct sunlight.
They can be stored at room temperature, and I have found them to last a couple week with no issues. You can also store them in the fridge if desired, but I like them better when they are room temperature.
If you like this recipe I would really appreciate if you would give it a 5 star or leave a review thank you!