How To Make Pressed Flower Lanterns
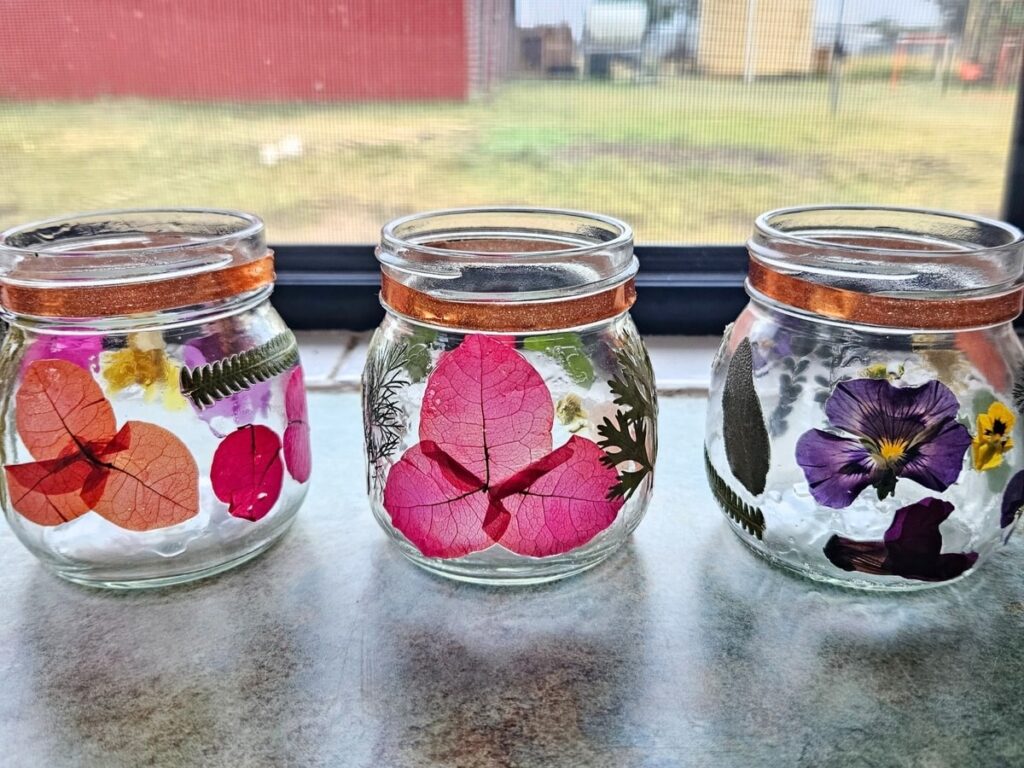
If you are looking for a simple way to bring spring indoors you will love this craft. Pressed flower lanterns are a simple and elegant way to brighten any space.
This craft only requires a few basic supplies, kids can join in and its cheap and quick to make. The pressed flowers keep retain their vibrant beauty and bring a natural charm to the home.
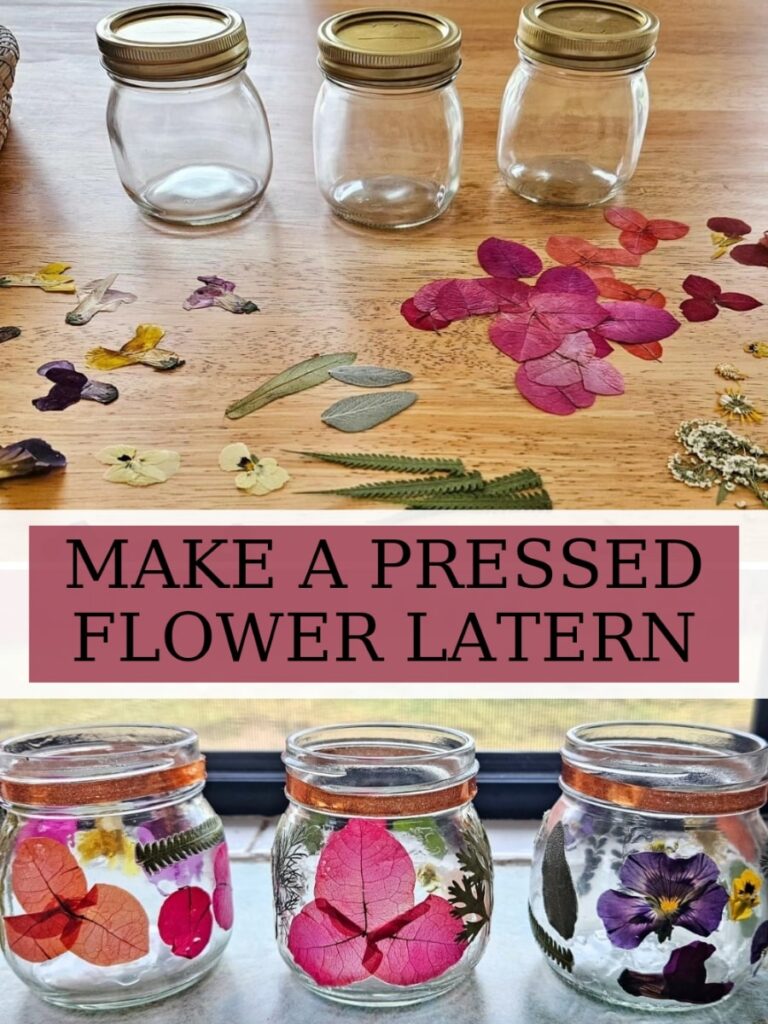
Wether you press your own flowers or purchase pressed flowers this is a craft anyone can do and enjoy. Here’s what you need to get started!
This post contains affiliate links which means I make a small commission at no extra cost to you! You can view my privacy policy here.
What You Need
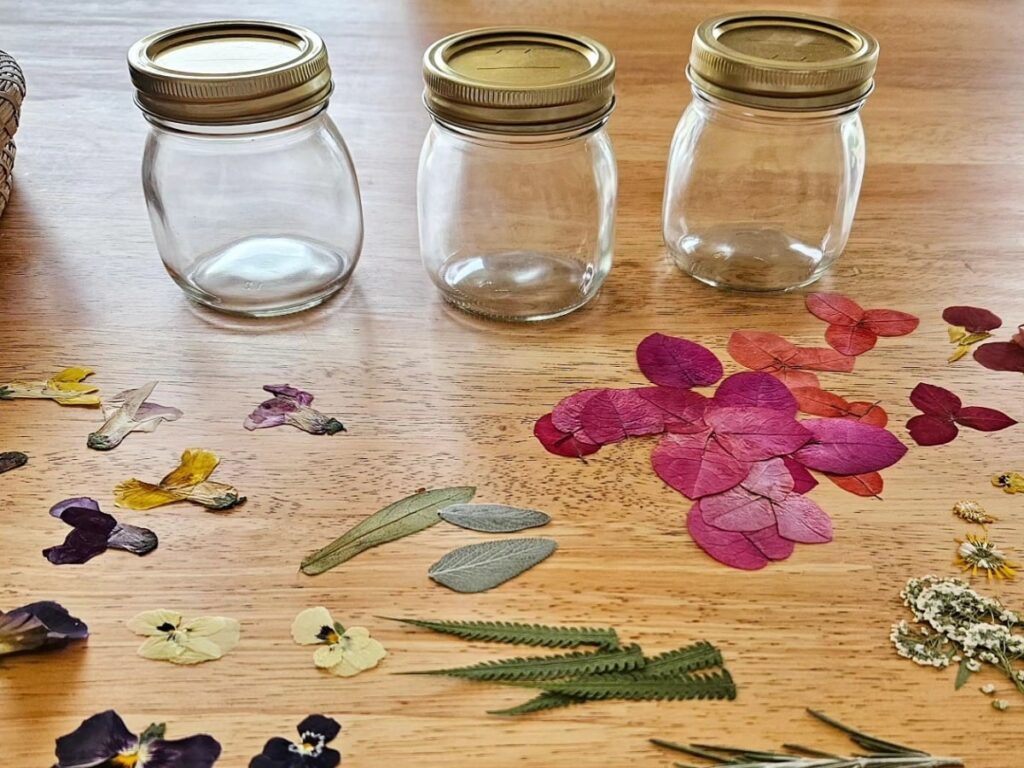
This is pretty basic equipment you need!
- Glass jars: Whatever glass jars you have on hand that you would like to use! Make sure they are clean and dry.
- Glue: Any school glue works just fine. They dry clear. But mod podge works best as it also a sealer.
- Dried flowers and leaves: You can either purchase these online or collect and press your own!
- Paint brush: I use a paintbrush to paint the glue on the jar when placing the flowers and then paint over the flowers again with glue.
- Twine, thin ribbon or thin washi tape are optional to add around the top.
Where To Get Pressed Flowers
You can get pressed flowers in several different places.
- Amazon online has a variety of dried flowers to choose from. Pressed Flowers Click Here
- You can purchase them at a craft store.
- And of course, you can collect flowers and leaves and press them at home yourself for free.
How To Press Flowers
Pressing flowers is so easy! If you have paper and books or something heavy you can press flowers!
- Collect flowers and leaves. Try not to collect bulky flowers like marigolds you want flowers that are easy to press and have a single layer of flower petals. Some flower ideas can be pansies, violas, daisies, borage flowers ect.
- Open a big book and a piece of paper inside. Place your flowers in a single layer on the paper making sure you live a little room around each flower.
- Place another piece of paper on top and carefully close the book. You can stack a couple more heavy books on top if you like or press them between two heavy boards if you have.
- It can take anywhere from 2 to 4 weeks until your flowers are dried and flat.
- Your flowers should be flat, dry and have retained there beautiful vibrant colours. They are now ready to use.
How To Make Pressed Flower Lanterns Step By Step
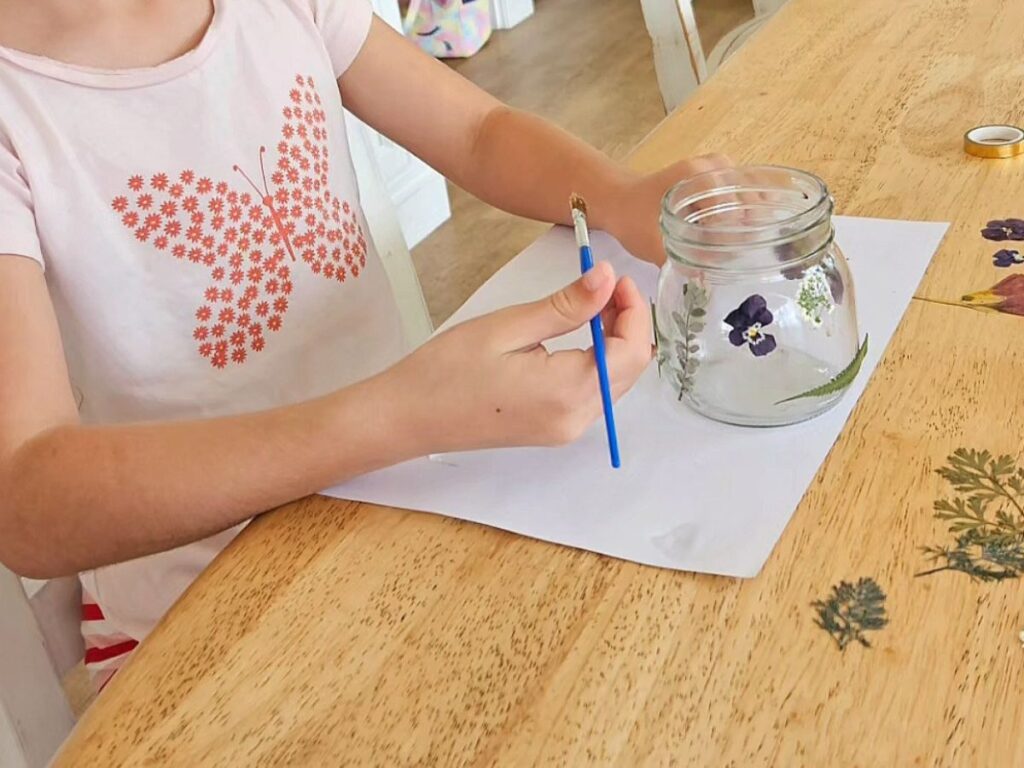
- Collect your supplies.
- Get some glue (modge podge works best) on your paintbrush and paint the area you are going to place your flower on with glue.
- Slowly glue one spot at a time and place the flowers one by one. Don’t glue the whole jar at once as the glue will dry before you finish placing your flowers.
- After you have your flowers where you want them paintbrush carefully more glue on top of your flowers until they are all covered.
- You can then glue thin ribbon around the top brim of the candle, tie yarn or tape thin colourful washi tape if you want!
- Allow to dry for a few hours and then you can place a real candle or battery tea light candle inside and enjoy its natural beauty.
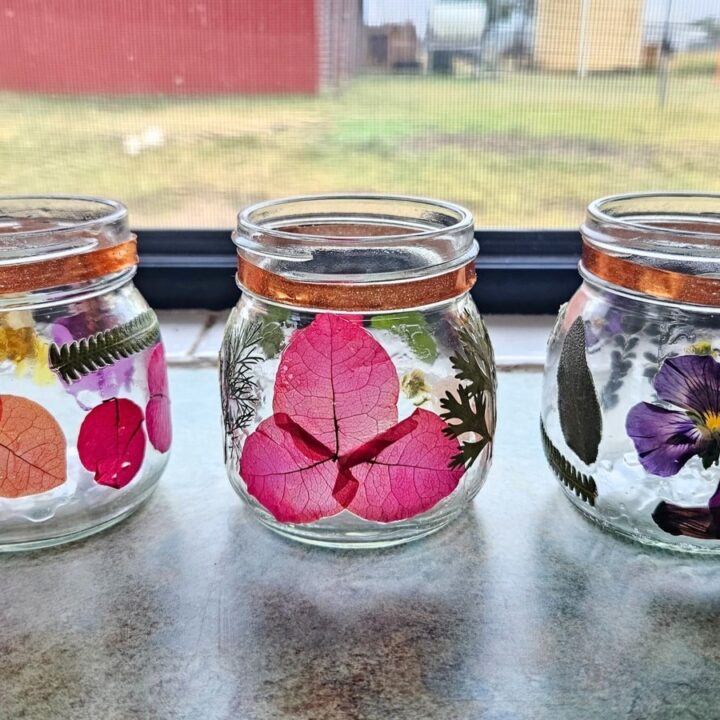
How To Make A Pressed Flower Lantern
Brighten your home with this simple DIY pressed flower lanterns. A beautiful home decor that is cheap, easy and quick to make.
Materials
- 1. Glass jars: Whatever glass jars you have on hand that you would like to use! Make sure they are clean and dry.
- 2. Glue: Any school glue works just fine. They dry clear. But mod podge works best as it also a sealer.
- 3. Dried flowers and leaves: You can either purchase these online or collect and press your own!
Tools
- Paint brush: I use a paintbrush to paint the glue on the jar when placing the flowers and then paint over the flowers again with glue.
Instructions
- Collect your supplies such as dried flowers, glue and straight jars.
- Get some glue (modge podge works best) on your paintbrush and paint the area you are going to place your flower on with glue.
- Slowly glue one spot at a time and place the flowers one by one. Don't glue the whole jar at once as the glue will dry before you finish placing your flowers.
- After you have your flowers where you want them paintbrush carefully more glue on top of your flowers until they are all covered.
- You can then glue thin ribbon around the top brim of the candle, tie yarn or tape thin colourful washi tape if you want!
- Allow to dry for a few hours and then you can place a real candle or battery tea light candle inside and enjoy its natural beauty.
Questions and Answers
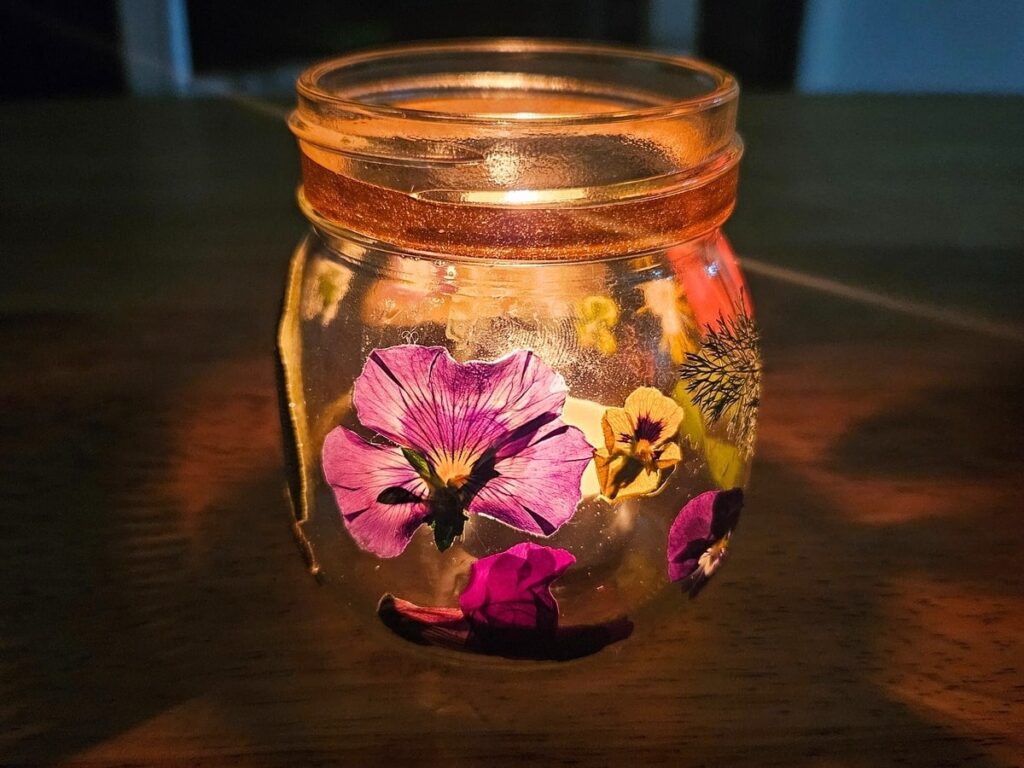
How long do pressed flower lanterns last?
Pressed flower lanterns can last about a year! And when they start to fade or break just rub it off under hot water, dry your jar and you can start again!
What type of glue do I need for pressed flowers?
Modge podge glue works best because it’s a stronger glue and acts as a sealer as well. You can still do this craft with normal school or craft glue as well!
What kind of jar is best for pressed flower lanterns?
A glass jar with straight sides works best. It’s easier for the flowers to stick well when the sides are straight. I have also used a plastic soap dispenser and that worked beautifully for the bathroom too. If you are looking for other ideas!

