How To Make Homemade Butter
Homemade butter is so easy and satisfying to make. It doesn’t require a lot of hands-on time and can save you a bit of money.
The only things you need is cream and then there are many different ways you can separate the fat from the liquid to turn it into the glorious golden spread we all love so much.
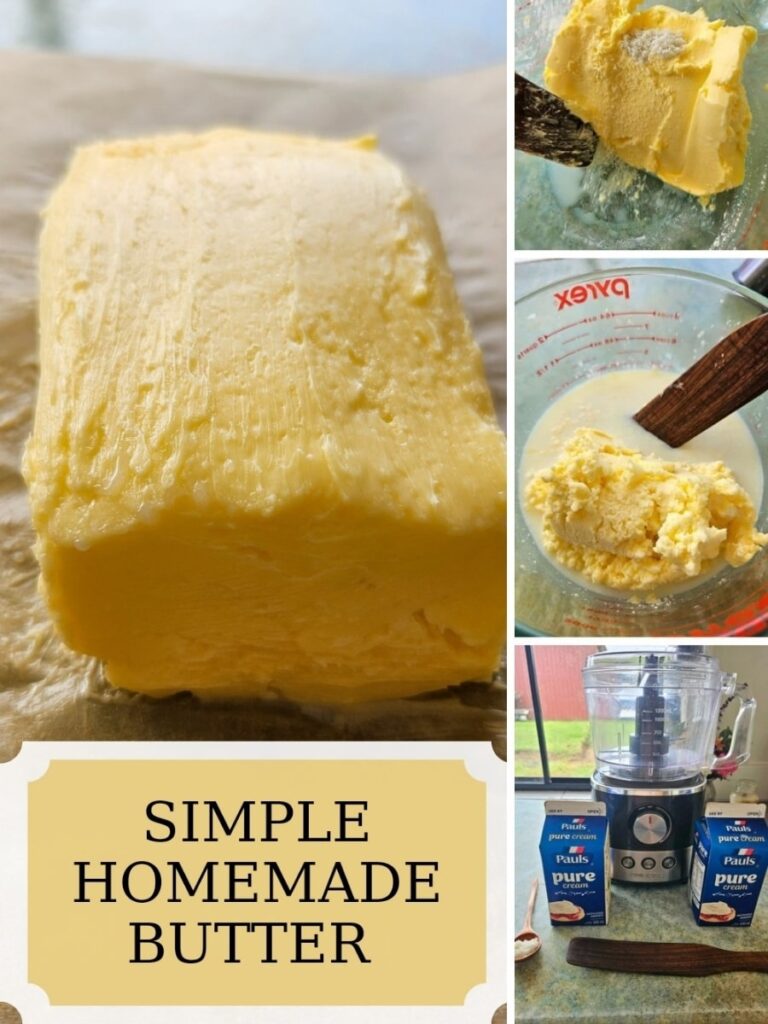
It feels like every time I go to the store dairy prices keep increasing! Whenever I can buy pure cream for a reduced price, I do not hesitate to purchase it to turn into butter.
So, let’s get started with what you need to make your own butter at home!
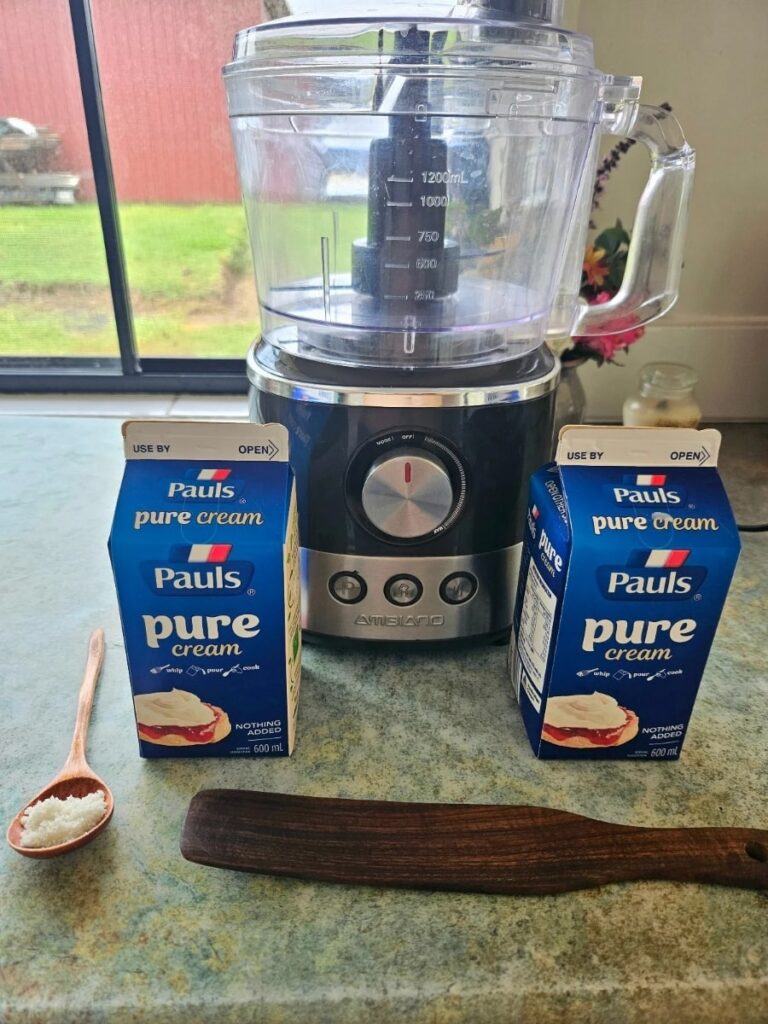
What You Need To Make Butter At Home
This post contains affiliate links which means I earn a small commission if you choose to purchase at no extra cost to you, privacy policy here.
Ingredients
To make butter all you really need is one ingredient!
Cream: I like to use a pure cream with no extra ingredients in it. The thickening creams will generally always have thickening agents to make them thicker.
Salt: (optional) But I personally like to add salt as it helps to get rid of excess liquid in the butter, preserves it better and gives it a nice taste.
Supplies
You can use several different things to make butter! I used a food processor but here are some options.
- Food Processor, blender, hand blender or an electric mixer: This will whip the cream eventually separating the milk solids from the liquid giving you butter!
- Bowl: You want a medium sized bowl to pour your contents into and to for squeezing out the extra liquid.
- Spoon or spatula: This is for pressing the butter to get rid of as much buttermilk as possible. Also used to shape the butter:
- Cling wrap or wax paper: To wrap your butter in for storing in the fridge or freezer.
How To Make Homemade Butter
Making your own butter at home is actually very easy!
- Pour the cream into your mixing machine of choice (food processor, blender or electric mixer).
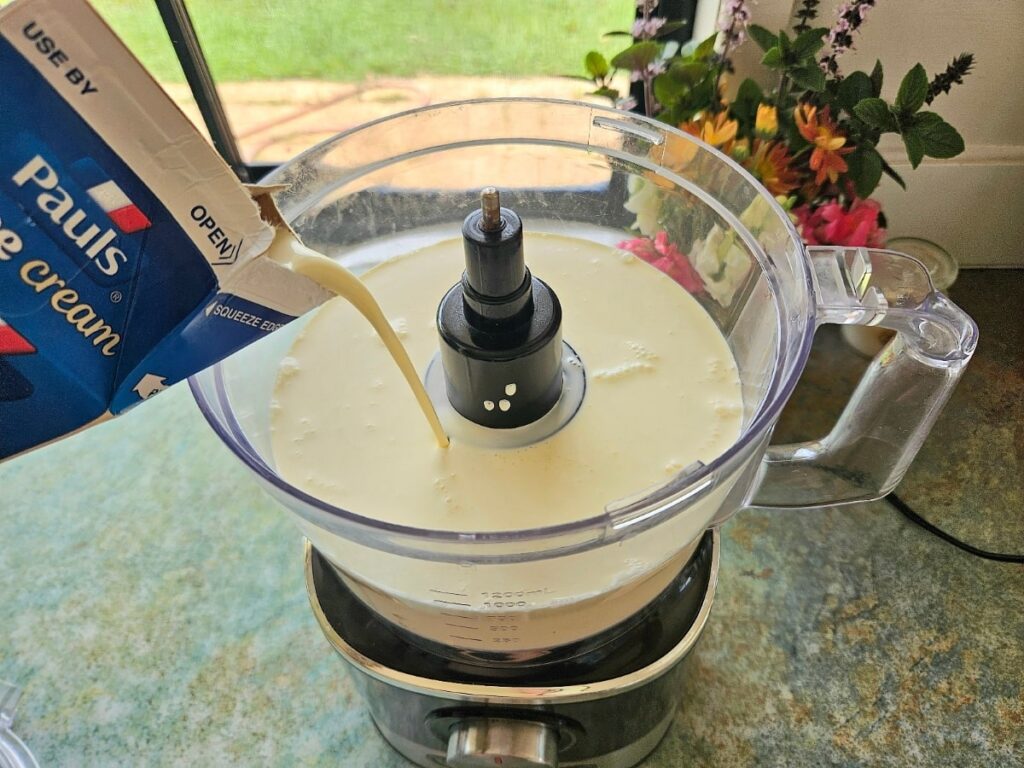
2. Blend on medium for about 5 minutes until the milk solids separate from the liquid and you can see beautiful golden chunks of butter.
3. Take out as much of the butter as you can from the liquid and place into another bowl.
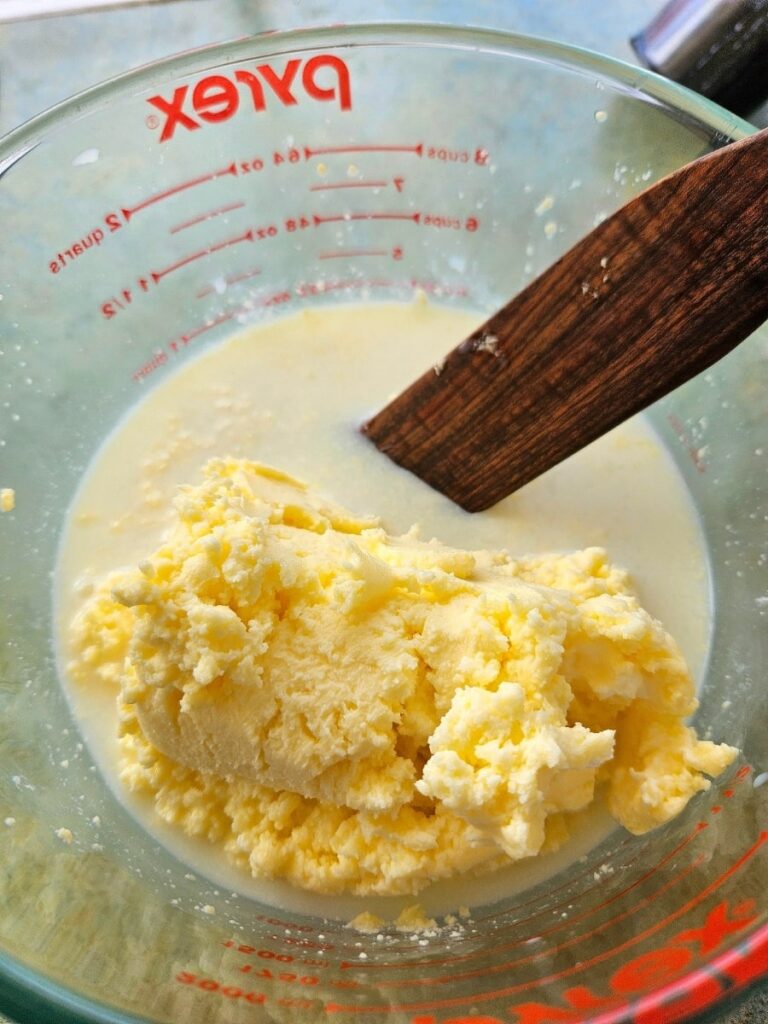
4. The buttermilk you can save in a jar with a lid and store in the fridge.
5. Work the butter pressing it against the bowl squeezing out extra buttermilk.
6. Once you feel you have gotten most of the liquid out add the salt if you choose and then press it through the butter again. More liquid will come out at this point.
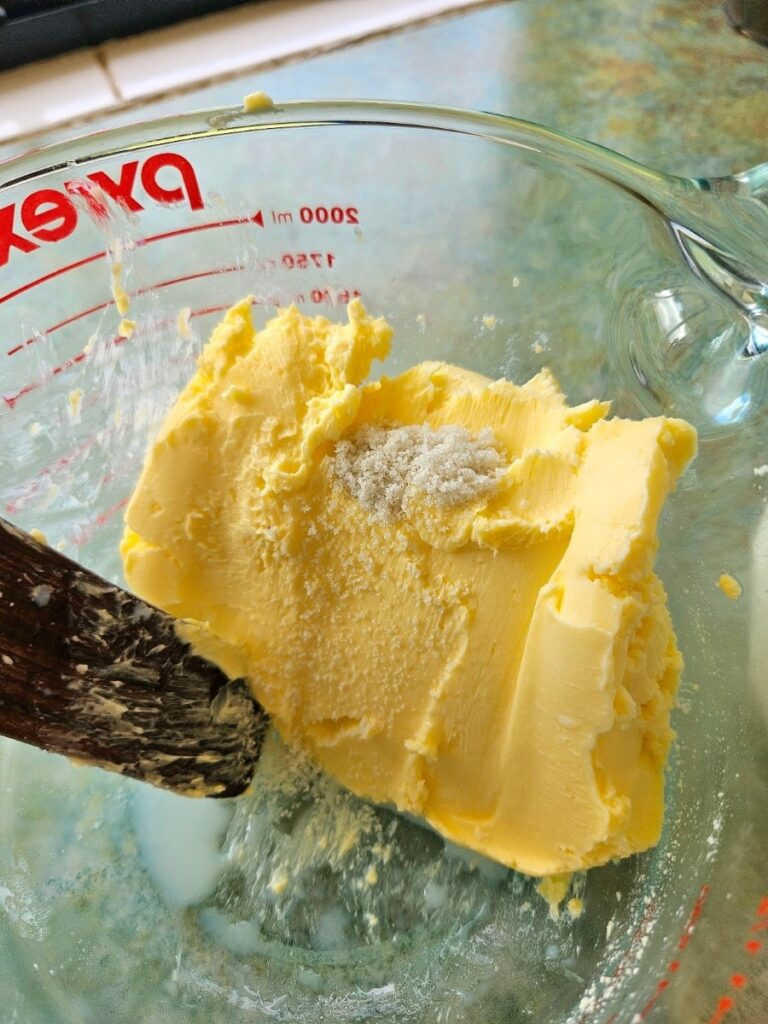
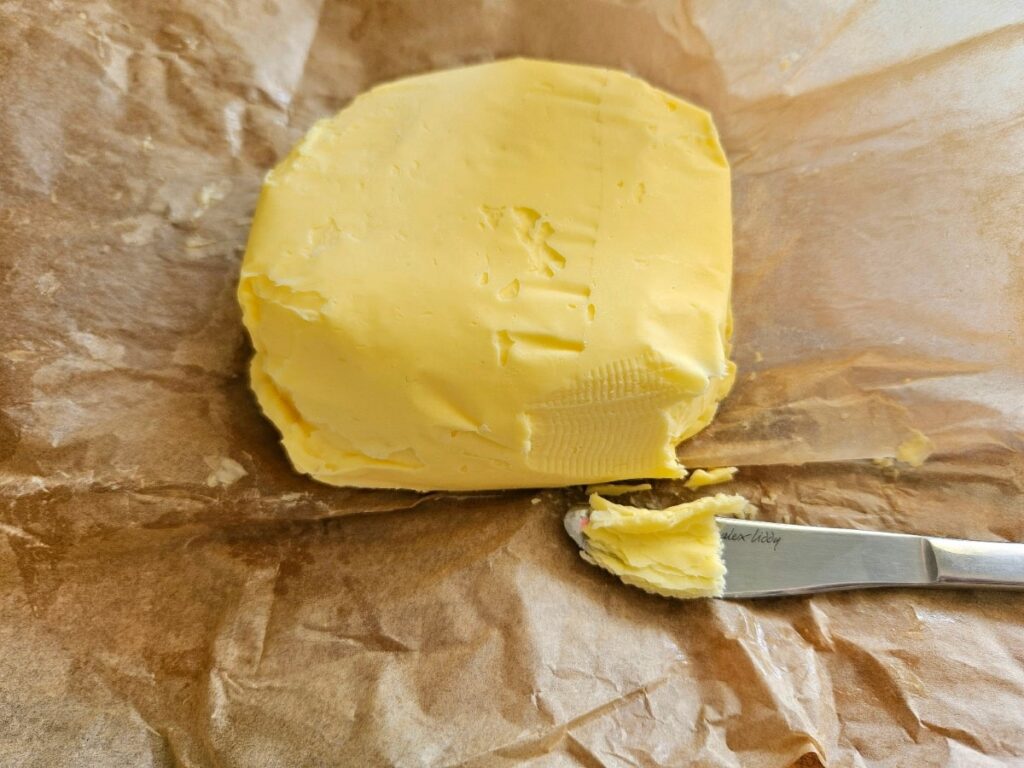
7. Take your butter out, should be a solid mass and you can shape it to whatever shape you want.
8. Place it on clingwrap or wax paper for storing in the fridge or freezer (see notes below for storing instructions)
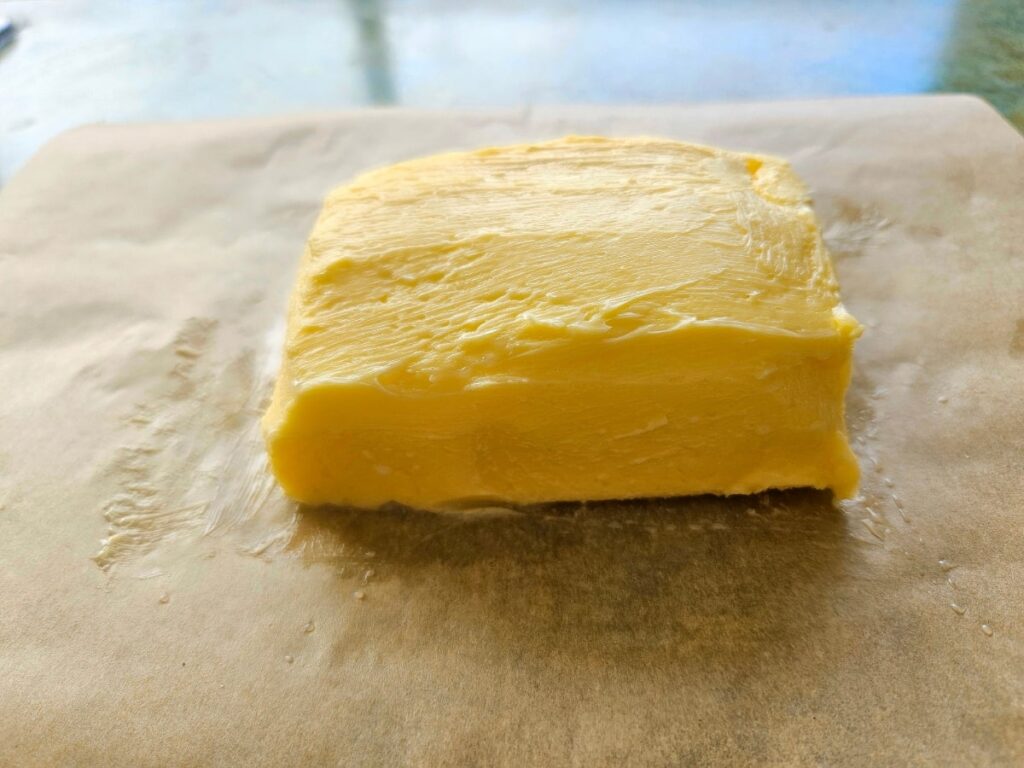
9. Now you have butter, and it will harden up more in the fridge!
If you try and like this recipe, please come back and leave a 5-star review!
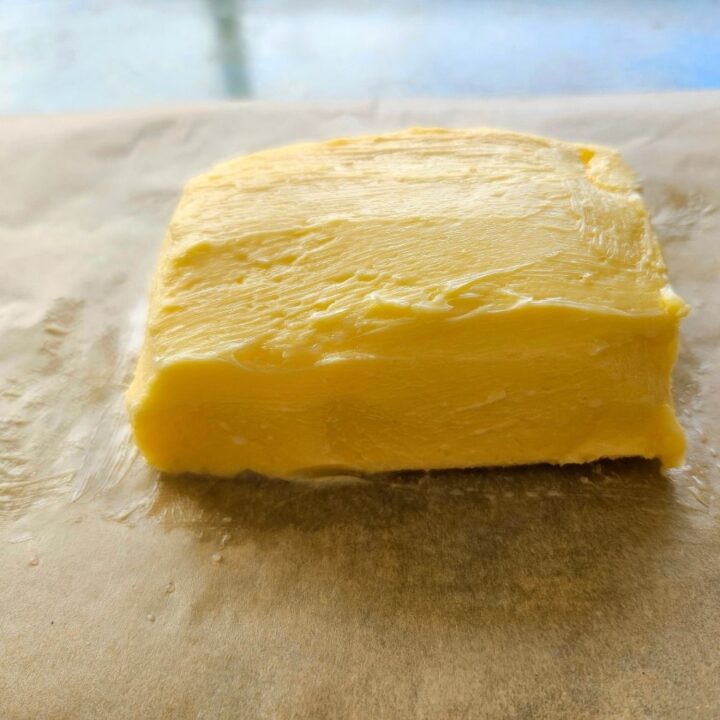
Homemade Butter Recipe
Learn how easy it is to make your own homemade butter from scratch. An easy butter recipe that taste great and stores well.
Ingredients
- 1. 1 litre of pure cream
- 2. 1 tsp sea salt (optional)
Instructions
- Pour the cream into your mixing machine of choice (food processor, blender or electric mixer).
- Blend on medium for about 5 minutes until the milk solids separate from the liquid and you can see beautiful golden chunks of butter.
- Take out as much of the butter as you can from the liquid and place into another bowl.
- The buttermilk you can save in a jar with a lid and store in the fridge.
- Work the butter pressing it against the bowl squeezing out extra buttermilk.
- Once you feel you have gotten most of the liquid out add the salt if you choose and then press it through the butter again. More liquid will come out at this point.
- Take your butter out, should be a solid mass and you can shape it to whatever shape you want.
- Place it on clingwrap or wax paper for storing in the fridge or freezer (see notes below for storing instructions)
- Now you have butter, and it will harden up more in the fridge!
Notes
Fridge storage:
Wrap your butter in clingwrap or wax paper and place it in the fridge. If you added salt, I find it last several weeks just fine in the fridge. If no salt was added aim to use the butter within a week as normally there is still liquid in the butter which causes it to slowly go bad.
Freezer Storage:
Wrap your homemade butter in cling wrap or wax paper. If you wrap it in wax paper place the wax paper into a ziploc freezer bag to keep it fresher.
Place in the freezer, this can last up to a year in the freezer. When ready to use take it out of the freezer and place it in the fridge. Or you can use it directly out of the freezer as well!
How To Store Homemade Butter
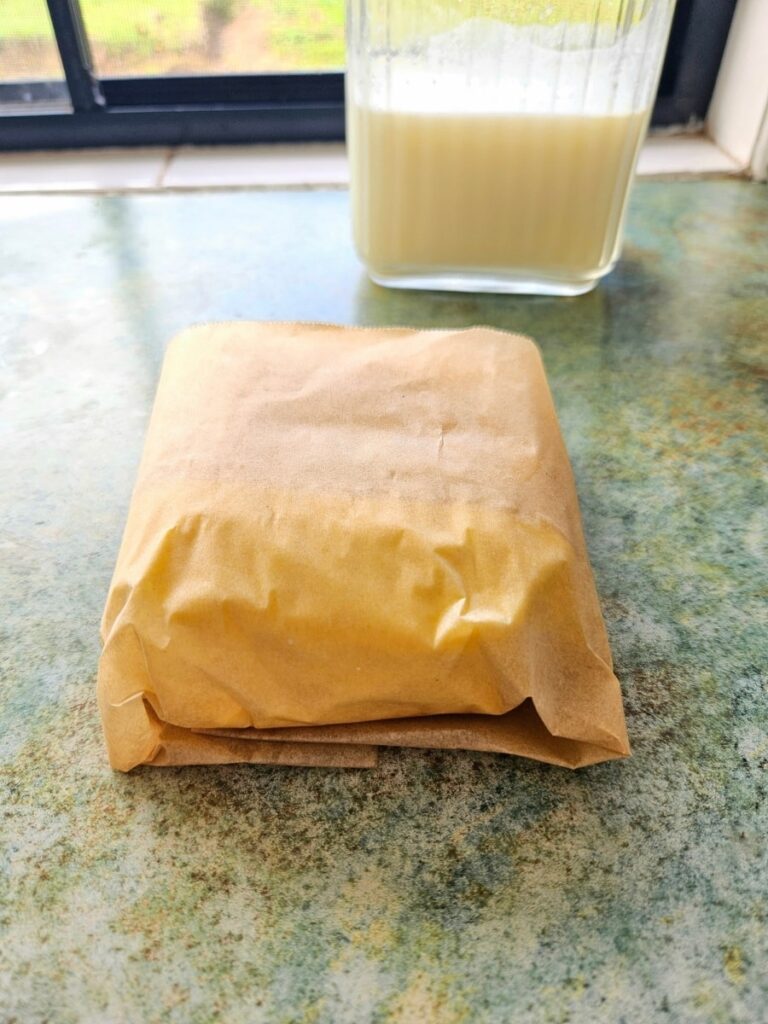
Storing butter is very easy!
Fridge storage: wrap your butter in clingwrap or wax paper and place it in the fridge. If you added salt, I find it last several weeks just fine in the fridge. If no salt was added aim to use the butter within a week as normally there is still liquid in the butter which causes it to slowly go bad.
Freezer Storage: Wrap your homemade butter in cling wrap or wax paper. If you wrap it in wax paper place the wax paper into a ziploc freezer bag to keep it fresher.
Place in the freezer, this can last up to a year in the freezer. When ready to use take it out of the freezer and place it in the fridge. Or you can use it directly out of the freezer as well!
Flavouring Your Butter
After squeezing out the extra liquid from your homemade butter you can now flavour it if you choose!
Here are some flavour options.
- Garlic and chives
- Herbs
- Decorate with edible flowers
- Sweet chilli
- Sugar and cinnamon
Honestly whatever spices you like it give it a go and use to flavour your meats or as a spread on bread and crackers.
Questions And Answers
Is homemade butter cheaper than storebought butter?
Now this can depend.
- First of all, what butter are you comparing it too as I have found not all butter is made equal.
- I like to use cream when it is on special or reduced. I will buy the reduced cream and turn it right away into butter and this definitely saves money.
- Good butter cost about $7 to $8 for 400 to 500gram block of butter in the store. I might pay $4 for 1litre of cream. But I also get about 600ml of butter milk as well which would cost $3 at the shop for that amount.
- So yes $10 worth of product for about $4 in price. And making it yourself brings a sense of pride too so it’s worth it when you want to do it!
How long will homemade butter last?
Homemade butter can last up to a year in the freezer or about 3 weeks in the fridge if majority of liquid has been taken out. Salting the butter does help to preserve it for longer a well.
How much butter can I get from 1kg of cream?
Generally, you can get about 450grams of butter from 1litre of cream.

