Same Day Sandwich Sourdough Bread Recipe
If you have been looking for an easy sourdough sandwich bread recipe that can be made on the same day, I have got you covered!
You do not need to look any farther this sandwich sourdough bread is soft and fluffy in the inside, crunchy on the outside, rises to the standard sandwich loaf size, and can be frozen and thawed later if you are wanting to make larger batches!
It is a slightly sweet bread that is beautiful to eat fresh or toasted, lathered with butter and honey on top, oh yum!

You just need a few key things which I will list below, and I have some very useful easy tips below that you might not have seen or heard about that will really help give you the best bread!
If you enjoy this bread, you will probably really enjoy my Easy Sourdough Raisin Bread Recipe as well! It’s very similar in how it is made. I have added an update so you can make this bread with no mixer at all!
I’ll give both instructions below. I have a video posted just a little farther down for your convenience as well if you like to see how it’s made!
Now Let’s get started with this recipe!
What You Will Need
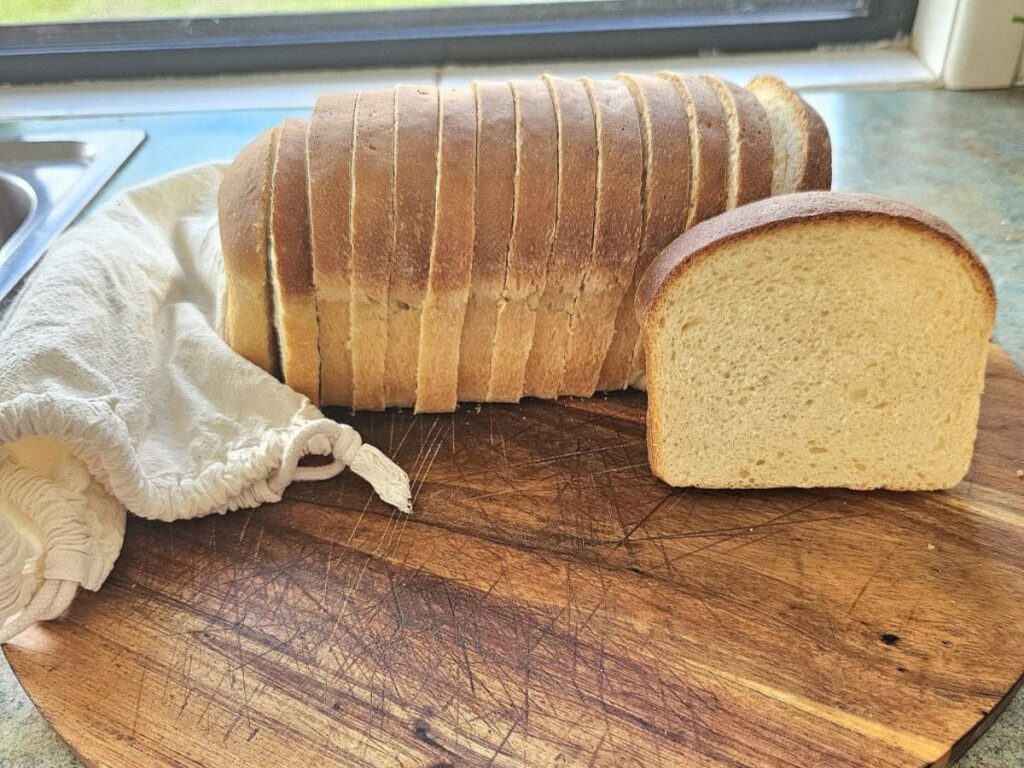
Ingredients
1/2 cup sourdough starter: For this recipe to work well you will need a starter that is active. Which means it has been fed in the last 12 to 24 hours and should have doubled in size.
If your starter is doubling in size, then your bread will rise as well. If your starter isn’t rising your bread most likely won’t rise either leaving you with a dense bread.
1 cup water: I use filtered water, not tap water. Any clean water should be fine.
2 tbsp of sugar: I use raw sugar, but you can replace it with honey or another sweetener of your choice. It adds a really nice slightly sweet touch to the bread.
3 1/2 cups of flour: I do use white Khorasan flour which is an ancient grain. It has a lovely flavour and is an easy flour to work with while also being healthier. You can make this recipe using white flour as well.
2 Tbsp oil: You can use any oil you like. I have found though using an oil that doesn’t go hard in the fridge like grapeseed oil or rice bran oil makes the bread stay softer when it’s stored in the fridge as well.
Coconut oil and olive oil go hard in the fridge and tend to make the bread go slightly harder when stored in the fridge. This isn’t an issue at all if you toast it or keep your bread at room temperature.
2 tsp Salt: While I use sea salt for the mineral content any salt should be fine. Don’t skip the salt it adds flavour to the bread.
This post contains affiliate links, which means I make a small commission at no extra cost to you. See my full disclosure, policy.
Equipment
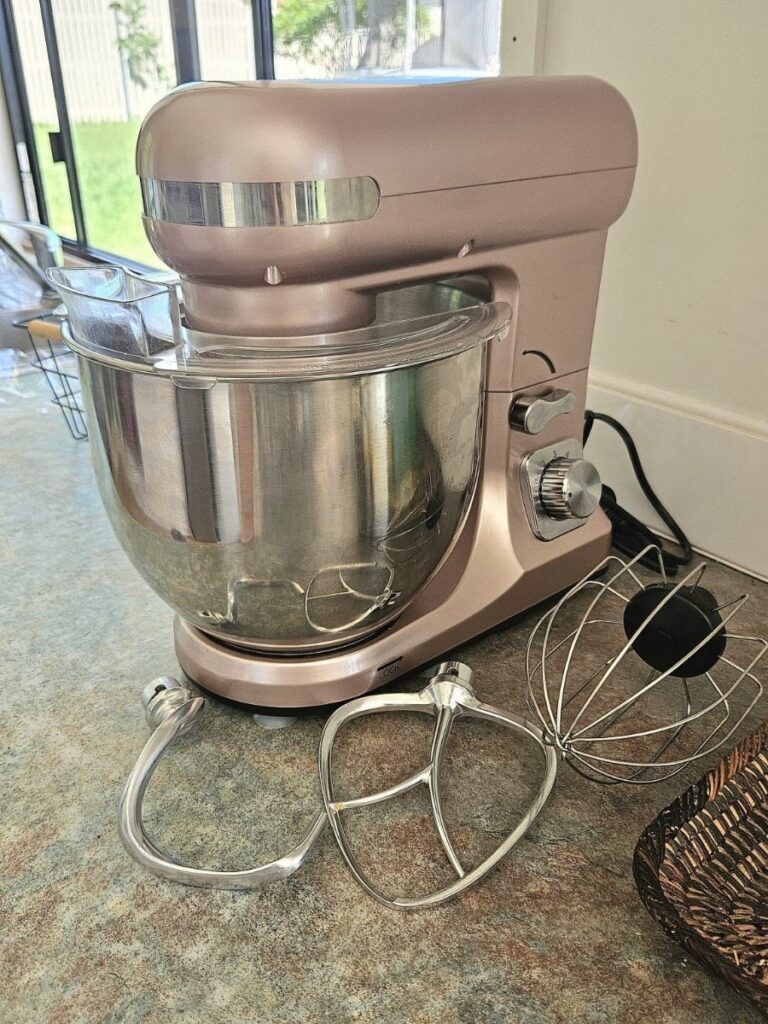
Mixer or kitchen aid (Australia link): (Similar American Brand) (Optional) Having a mixer or kitchen aid has been a game changer for making all my bread products at home. It is well worth the investment as it drastically reduces the workload you have to do.
It’s also a beautiful display piece in my kitchen which and I truly love it. I highly recommend this brand as it’s affordable, large, so I can make double batches of bread at the same time and has worked wonderfully for me!
Large bowl: Or you can use the kitchen aid bowl. You will need a large bowl of some sort that will allow for the expansion of your dough. Remember it will be doubling in size!
Bread Pan: You will need a bread pan as this will keep your dough rising in the sandwich bread shape. I really love the stainless-steel bread pans I have. They are affordable, durable, easy to clean, lightweight and the bread comes out a perfect size!
No Kneed No Mixer Instructions
Tips On Making Sourdough Sandwich Bread
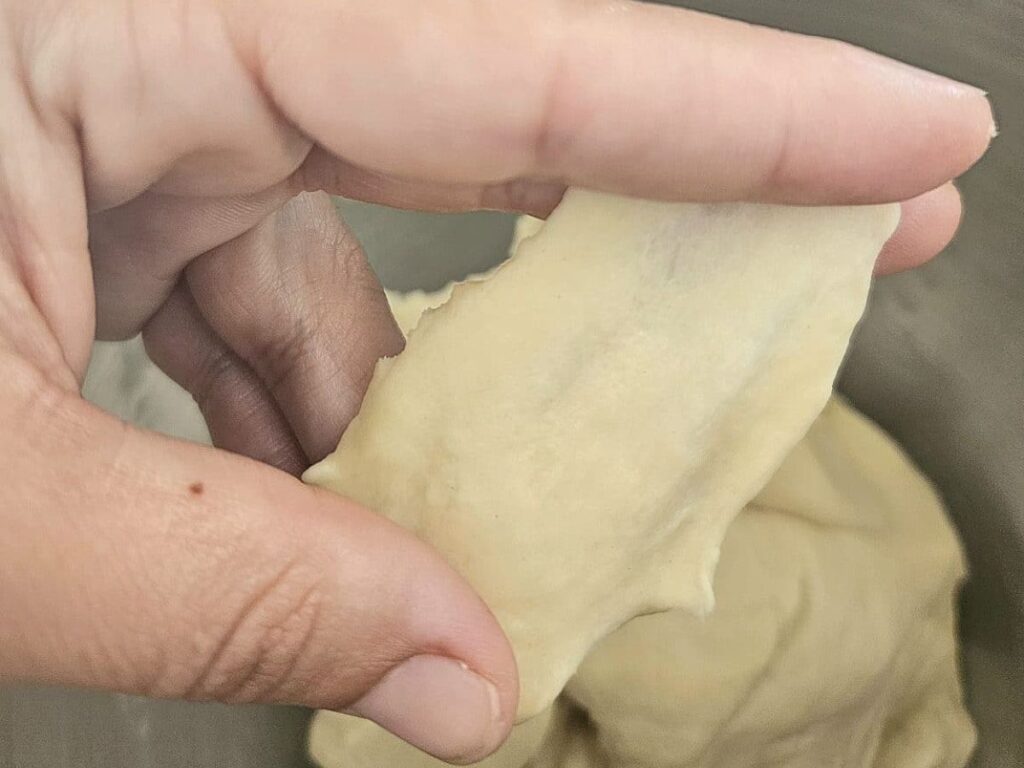
- Window pane test
- A great way to check if your sourdough is kneaded correctly is doing the windowpane test. You take a small piece of dough and stretch it out in a square shape. If it can stretch fairly thin and you can see through it without it breaking you know your dough is properly kneaded and ready to rest now. This shows you how elastic your dough is so you get a nice fluffy bread.
- Don’t over ferment the dough
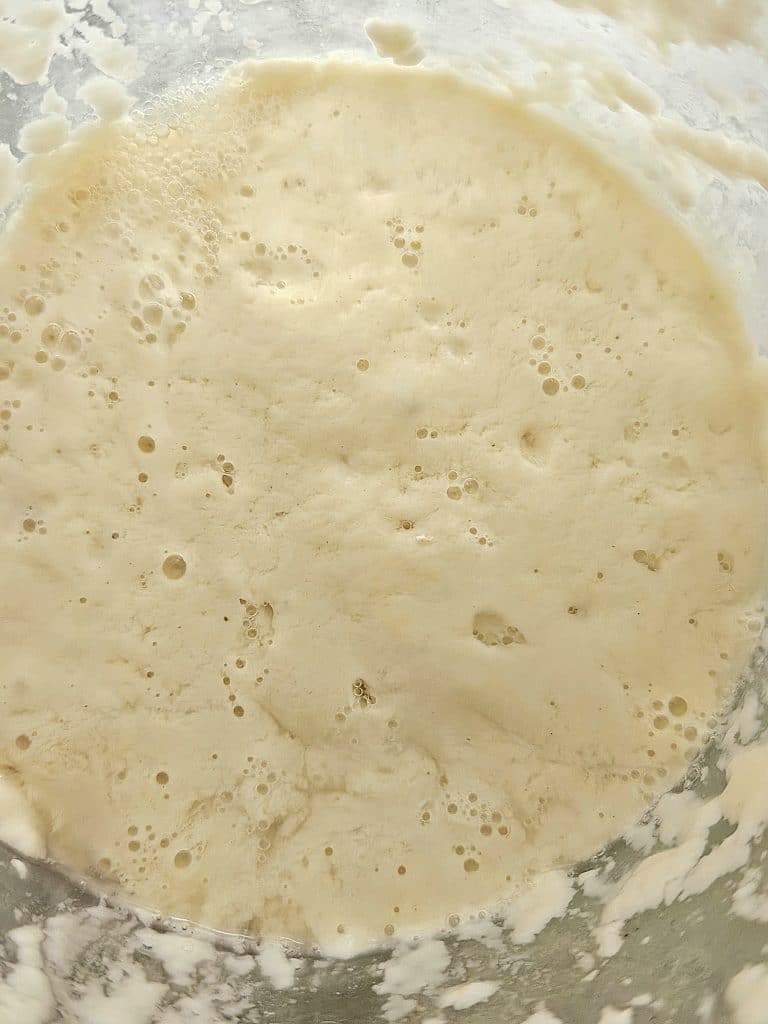
- Your dough should double in size but if it keeps fermenting it will actually lose its shape. Over fermented dough will be watery, sticky to handle, hard to shape and breaks easily. You don’t want it to go past its peak rising.
- Oil the top of the bread
- Adding melted butter or oil to the top of your sourdough bread before baking is beneficial for 2 reasons. One it allows the outer surface to stay softer longer which lets your bread rise more in the oven.
- Once the crust goes hard your bread stops rising. The second reason is it stops the crust from being extremely hard and crumbly when you go to cut it. I would highly recommend adding a bit of oil or melted butter to the top of your sourdough bread before baking.
- Adding melted butter or oil to the top of your sourdough bread before baking is beneficial for 2 reasons. One it allows the outer surface to stay softer longer which lets your bread rise more in the oven.
- Higher oven temperature initially
- Preheat your oven temperature to a higher temperature than you plan on cooking the bread. Once bread goes into the oven reduce temperature to normal cooking temperature. You do this so you get better oven spring.
- Oven spring is when your dough rises again before the crust hardens and it will no longer rise after that. When you place your bread in an extra hot oven it gives it a really good sudden rise, so you get a good size sandwich bread.
- Preheat your oven temperature to a higher temperature than you plan on cooking the bread. Once bread goes into the oven reduce temperature to normal cooking temperature. You do this so you get better oven spring.
- Place ice cubes in the oven
- I like to add a few ice cubes to the oven a little before placing my sourdough bread in. The reason is it adds more steam in the oven which keeps the loaf moister. It keeps the crust from going hard too quickly so it can continue to rise.
- Let your bread rest
- While you might be tempted to cut into your sourdough bread right away, I warn you to resist! It’s still hot and cooking on the inside, particularly in the middle.
- Let your bread cool down for about an hour before slicing and you will be very thankful you did. You will have a beautiful soft, fluffy sourdough bread if you wait.
- While you might be tempted to cut into your sourdough bread right away, I warn you to resist! It’s still hot and cooking on the inside, particularly in the middle.
Pros And Cons Of Making Sourdough Bread
There are definitely pros and cons to making sourdough bread.
Pros: Sourdough bread is healthier to eat, has better ingredients, is easier for your body to digest, is lower in phytic acid and is lower in gluten.
Cons: You need a sourdough starter and have to take care of the sourdough starter. You also need to pre plan making the dough and it can take 12 to 24 hours before it’s ready to eat.
How To Make Sourdough Sandwich Bread
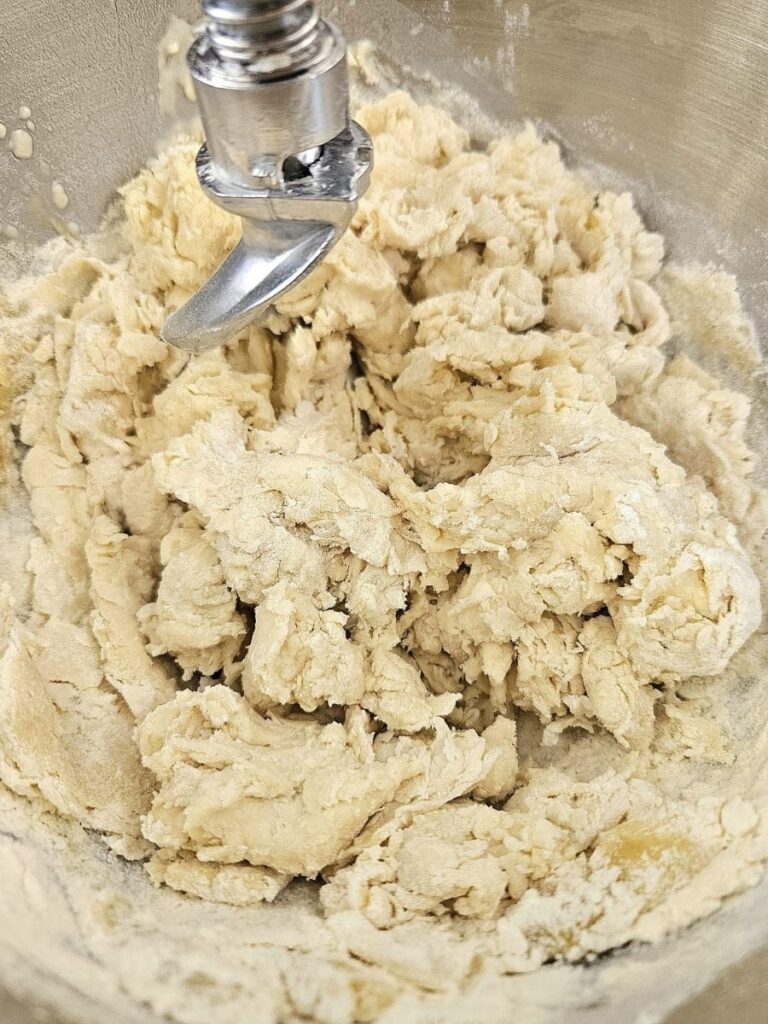
- Place all ingredients in the mixture and turn it on number 2. Let it mix for about 5 minutes and do the windowpane test which I showed above. If it doesn’t pass the windowpane test let it mix for a further 3 minutes and check again. The dough should be pulling from the sides and should look smooth.
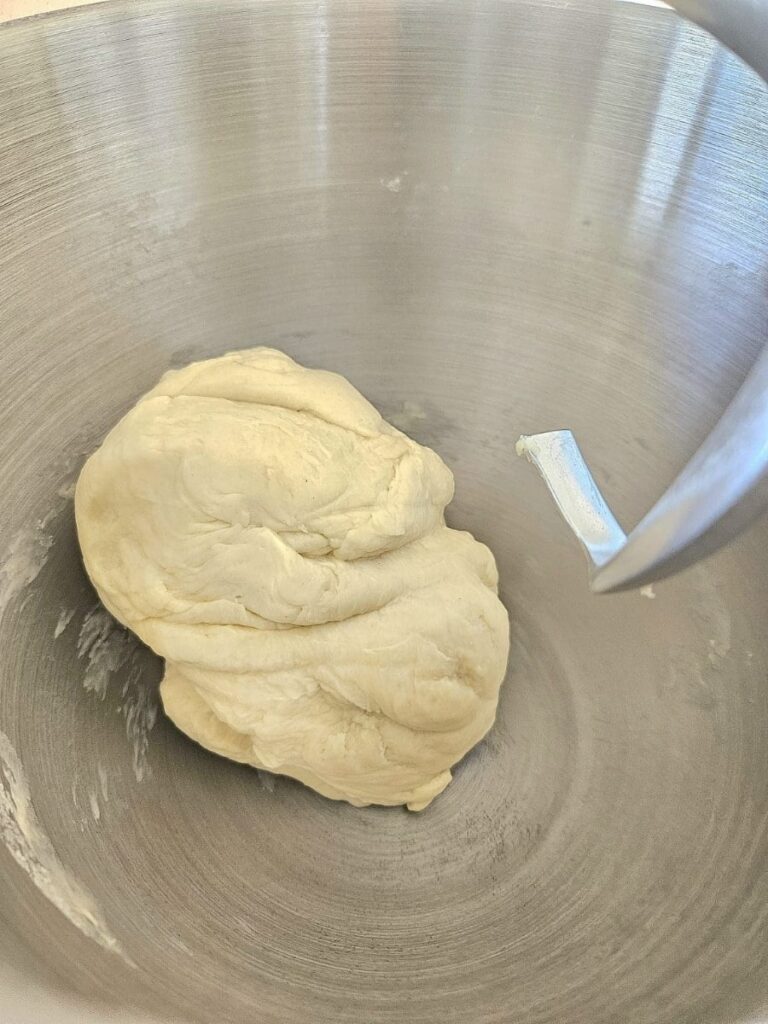
2. You will now allow your dough to bulk rise. You can either leave it in the bowl it is in or place it in another bowl and cover it with a wet towel, beeswax wrap or cling wrap.
Make sure to oil the bowl quickly so the dough comes out easier when it’s done rising. The bulk rise can take anywhere from 5 to 12 hours depending on the temperature. When it’s warm it doubles in size in about 5 hours.
3. Take the dough out of the bowl and flatten it on parchment paper or silicon mat to take out any large air pockets that would have formed. I flatten it to about the same length as my bread pan.
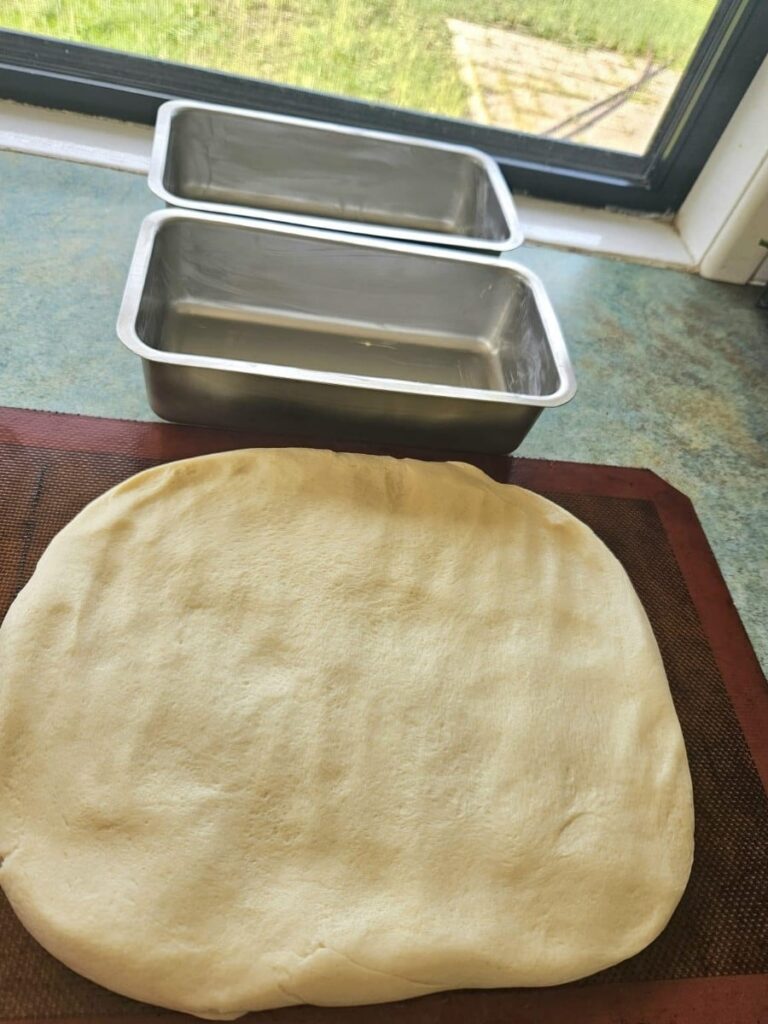
4. Roll your dough tightly up into a nice roll. You want to then pinch the seams together, so they stick and tuck in the outer edges. Try and have a nice smooth roll with as little cracks as possible. I roll it back and forth gently like you are rolling a snake from playdough.
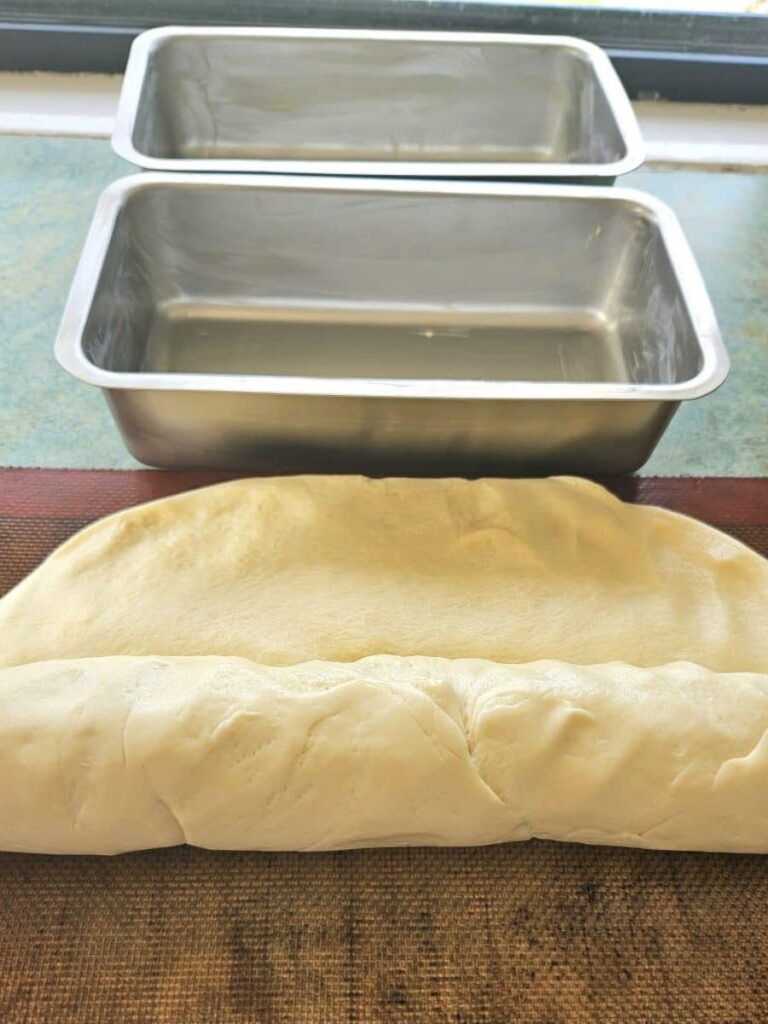
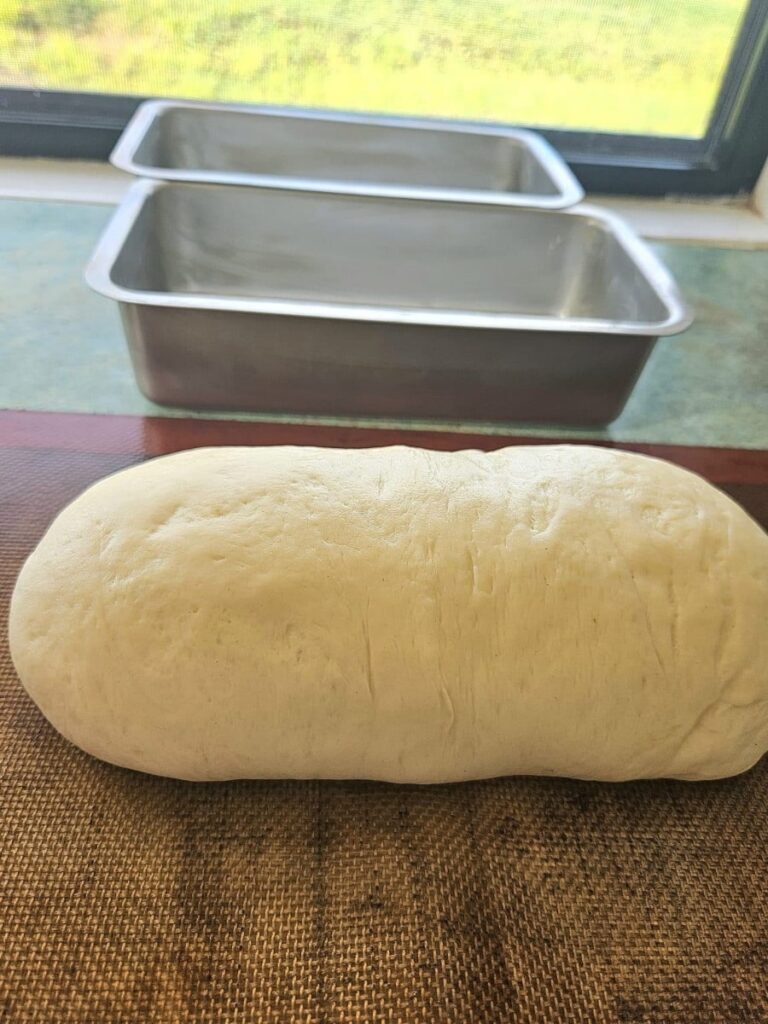
5. Place your dough into a pre buttered or oil bread pan. Place oil or melted butter on top of the dough to stop the crust from hardening so it will continue to rise. Allow it to rise for a couple more hours until the dough is about one inch above the bread pan.
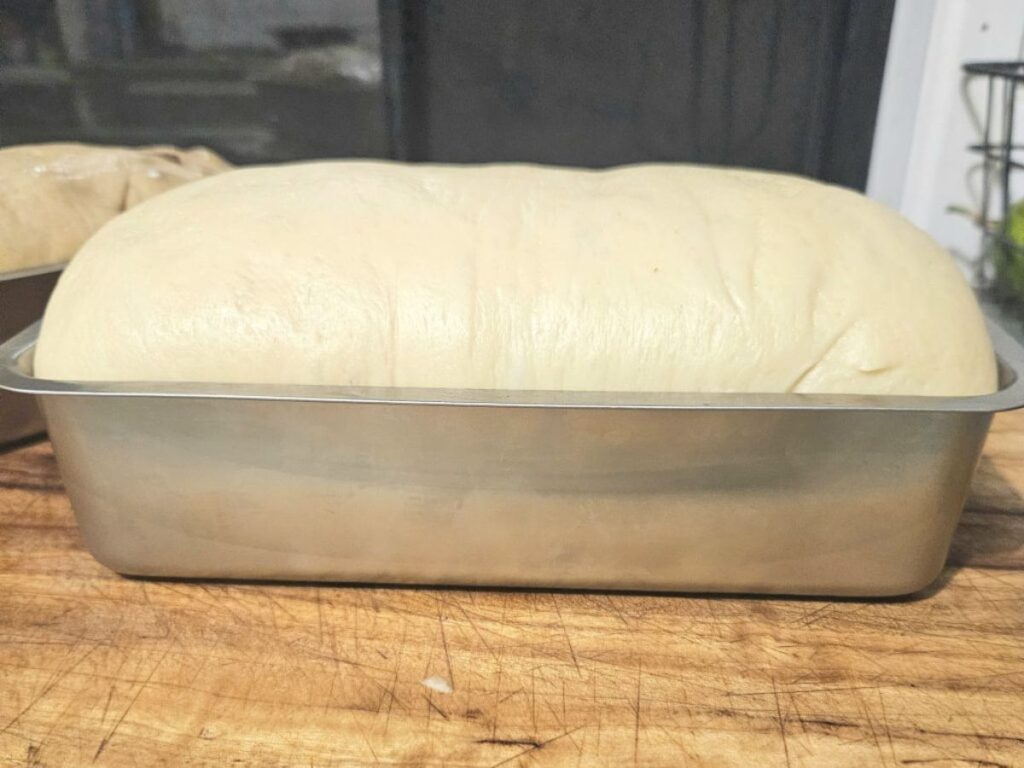
Preheat oven to 425F/220C. This will give your dough higher oven spring. Which means it will give it an extra burst in height before the crust hardens and your bread will no longer rise.
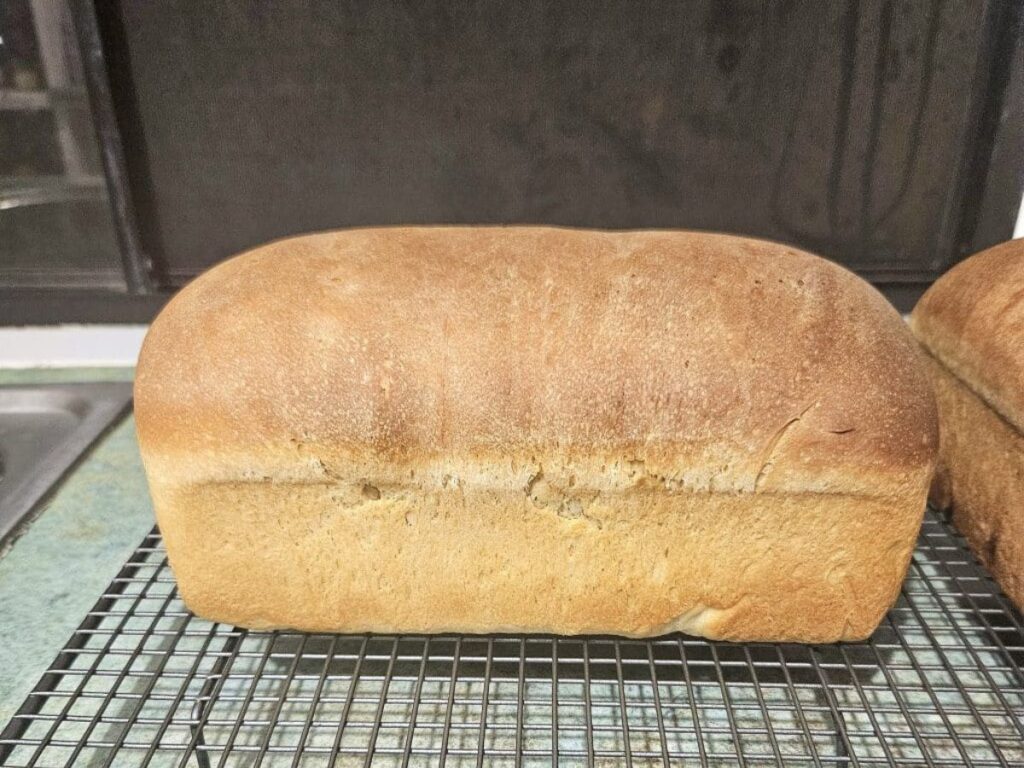
Once you place the bread into the oven lower the temperature to 375F/190c. Bake the bread for 40 minutes. Take it out and let it cool completely before cutting it. This can take 1 to several hours before it is cool. Very important do not cut until it’s cooled down it’s still cooking inside.
How To Store Sourdough Bread
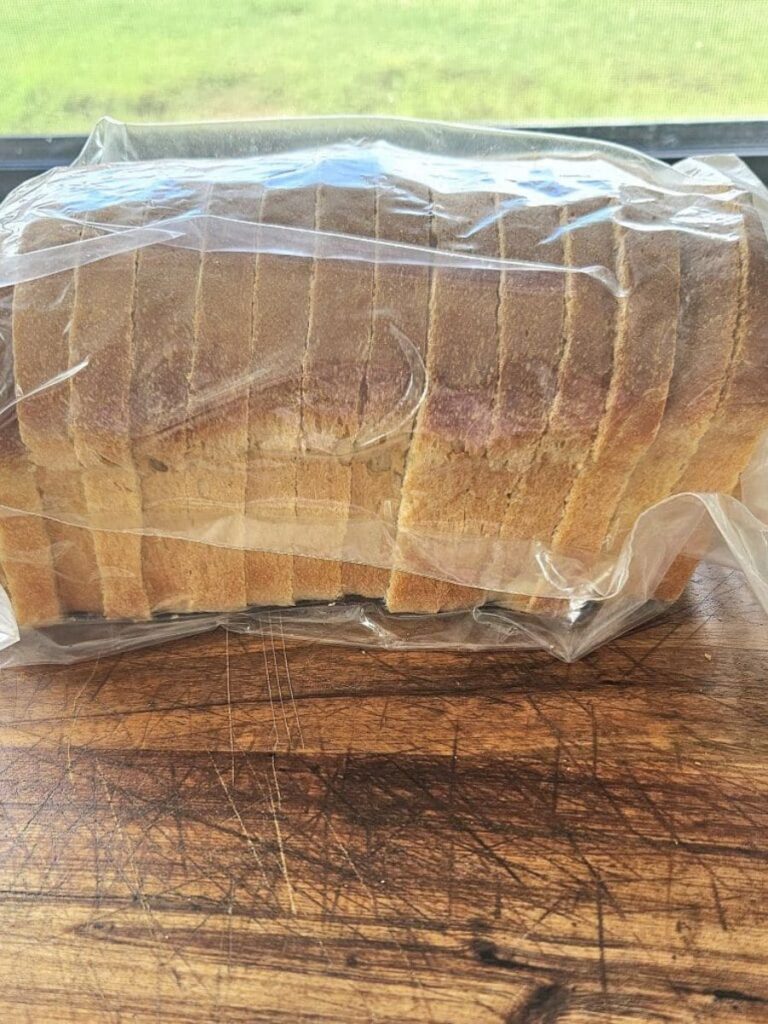
You can store sourdough bread in a bread bag or a large plastic ziploc bag. I have both bags. One I use for the fridge and the freezer ziploc bags I use for the loaf that I place into the freezer.
I reuse these ziploc bags and they work a treat. Make sure to pre slice your bread before you place it in the freezer! You can store your bread on the counter for up to 3 days, in the fridge for about 1 week or in the freezer for up to 3 months!
Make sure to take extra air out when placing in the freezer. Place a straw halfway into the bag and make sure it’s sealed up to the straw. Suck the air out of the bag until it is tight and quickly take the straw out and seal the bag.
Q & A
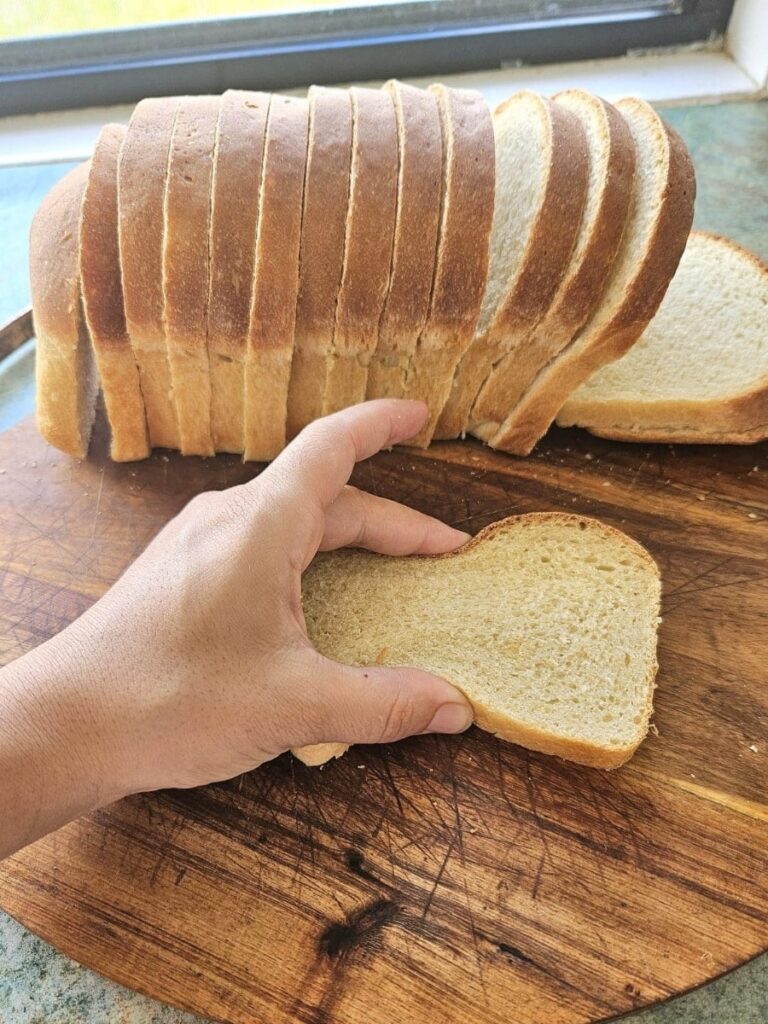
Does sourdough bread make good sandwiches?
Yes, it makes excellent sandwiches. If you have a good recipe your bread will be light and fluffy while also having the nutritional benefits you desire!
Why is my sourdough bread dry?
Your sourdough bread can be dry for several reasons. If you did not add enough water your dough can turn out hard and dense. Your bread can be dry if it cooks too long, or it didn’t rise properly.
Why is my sourdough sandwich bread dense?
If your dough didn’t rise it didn’t get the bubbles formed for it to be airier. Your starter has to be strong and the room can’t be too cold so it can rise properly.
Your bread can also be dense if there wasn’t enough water in the dough, or if it was not kneaded properly. Make sure your bread passes the windowpane test to ensure it has been kneaded well.
Is sourdough bread healthy?
Yes, sourdough bread is healthy. Sourdough bread contains lots of nutrients, vitamins, fibre, protein and folic acid. It also has less gluten and phytic acid which depletes your body of nutrients.
Depending on the flour you use will also determine the health benefits as flours vary.
Can you cold ferment sourdough sandwich bread?
Yes, you can cold ferment sourdough sandwich bread. You can let your bread rise in the fridge. This slows down the fermentation process so it can suit your schedule.
You can leave it in the fridge from 5 hours to two days, but I wouldn’t go much longer than that before baking it.
How long does Sourdough sandwich bread last?
Sourdough sandwich bread can last 3 days at room temperature in a bread bag. It can last about 1 week in the fridge in a bread bag. Or it can last about 3 months in the freezer in a freezer ziploc bag with the air taken out.
Want More Sourdough Recipes?!
Easy Sourdough Discard Pizza Crust
Easy sourdough cinnamon raisin bread recipe
Same Day Discard Sourdough French Bread Recipe
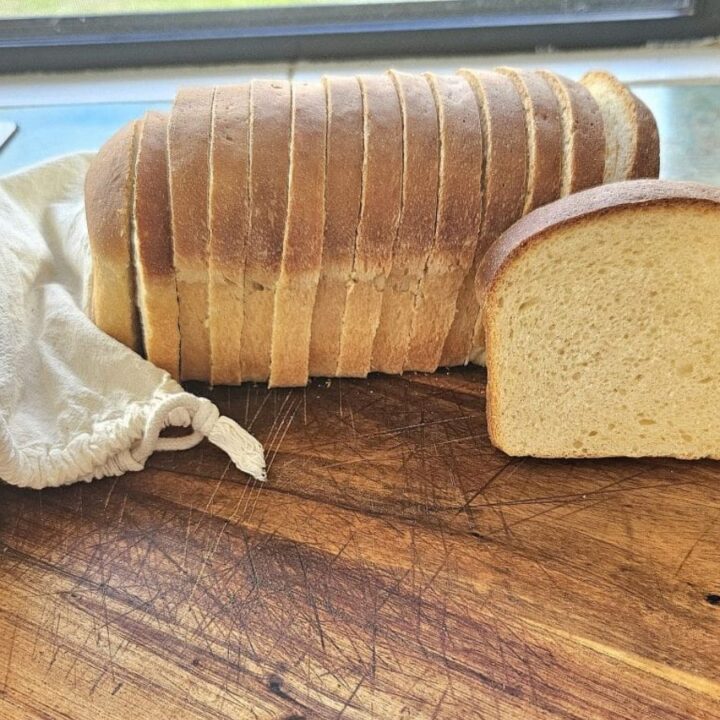
Sourdough Sandwich Bread
Simple, soft and fluffy sourdough sandwich bread. This recipe can be made in one day and requires no yeast! The whole family will love!
Ingredients
- 1/2 cup sourdough starter
- 1 cup room temperature water
- 2 Tbsp sugar
- 2 Tbsp Olive oil
- 2 tsp sea salt
- 3 1/2 cup Flour (I use Khorasan, but you can use white flour as well!)
Instructions
- Without A Mixer: Simply mix all the ingredients together with a dough whisk or fork until it can't be mixed anymore. Then use your hands to finish it off. Once all the flour and everything are combined it will be a slightly sticky ball.
- Place this ball in an oiled bowl and cover with a tea towel or cling wrap until it doubles in size and follow the recipe below like normal starting from step 3.
- With A Mixer: To a stand mixer, add all of the ingredients.
- Knead your dough on number 2 for about 5 to 10 minutes until dough is stretchy and smooth. It should be pulling away from the sides of the bowl and should pass the windowpane test which is mentioned above.
- Allow to bulk rise until it has doubled in size about 6 to 12 hours depending on the temperature.
- Flatten the dough into a rectangle and roll it up. Make sure to pinch the seams together and tuck in the 2 ends.
- Add bread to your oiled or buttered bread pan.
- I like to add oil or melted butter to the top of the bread, so the crust doesn't go dry. Allows it to continue rising properly.
- Second rise for 2-4 hours at room temperature, or until doubled.
- Preheat oven to 420F/220C. This will increase oven spring so you have a larger loaf.
- Once you place your bread in the oven decrease the oven temperature to 375F/190C for 40 minutes, or until golden on top.
- Take out of the oven and allow it cool for about an hour or so before slicing it.





Saying you can make this bread in one day is a stretch! Still willing to try but did not start early enough so will be making in two days.
It does depend on when you start in the morning and how warm it is. If it’s warm the bread can rise within 4 hours but cold would probably take closer to 6-8 hours that is for sure. Hope your bread comes out beautiful!
Question. Okay so far Iv made muffins.
I placed Bubbles in refrigerator.
Okay my question is do I take her out tonight and feed her and let her sit until morning then make my bread ?
How much do I feed her ?
Do I stir her then feed and leave her over night?
Blessings, Modest Catholic Roses
I hope you got my reply I think I sent it through youtube! You can take her out if you like I actually have been leaving mine in the fridge permanently. As long as it’s bubbly it will work. I just feed enough to make the recipe and have some left over. Yes always mix the water and flour together and leave her either in the fridge or on the counter overnight and use in the morning! 🙂
Love this recipe!!! It has become my go to sourdough recipe ♥️
Thank you so much I’m glad you love it!
Hello! Looking forward to making this recipe. Do you have instructions for creating the starter as well? I am new to sour dough. Thanks.
Randy Hogue
Hi Randy, while I don’t have a specific starter recipe it is pretty easy to start one up. I do have a post on sourdough questions and answers that goes a little into it. It doesn’t take too long to get one going and as long as you have flour, water and a jar you should be good to go!
Could this be made in a breadmachine?
I have never made it in a bread machine. If it’s just mixing and baking your dough, I don’t see why it couldn’t work. If you do give it a try let me know how it goes in a bread machine!