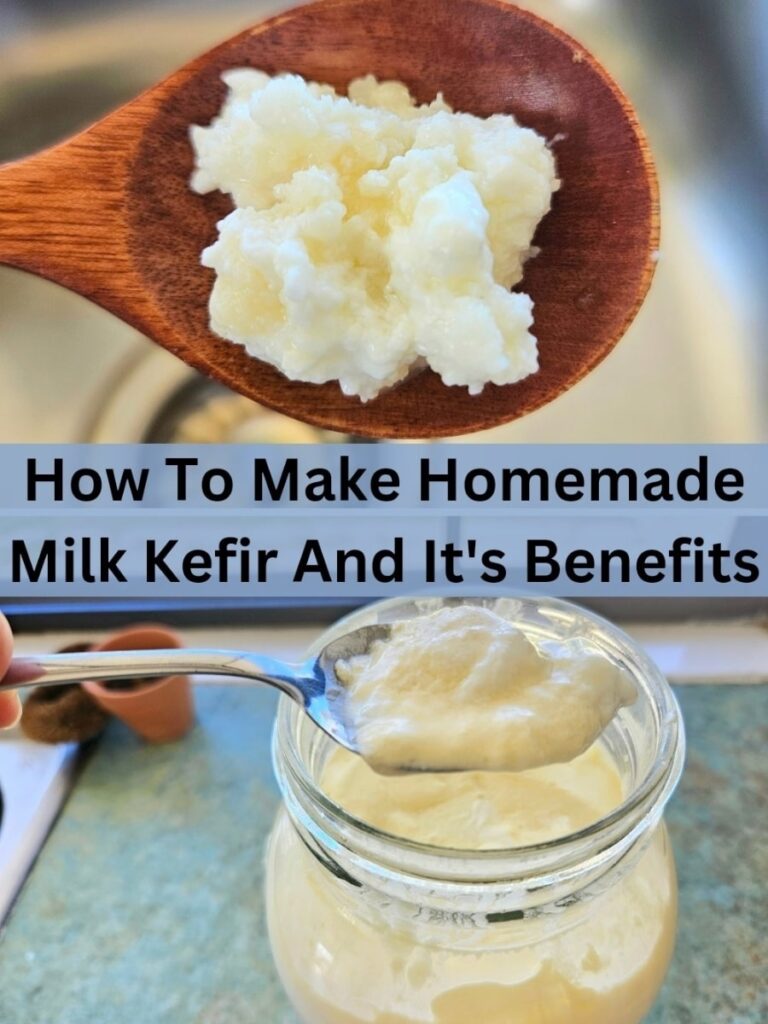
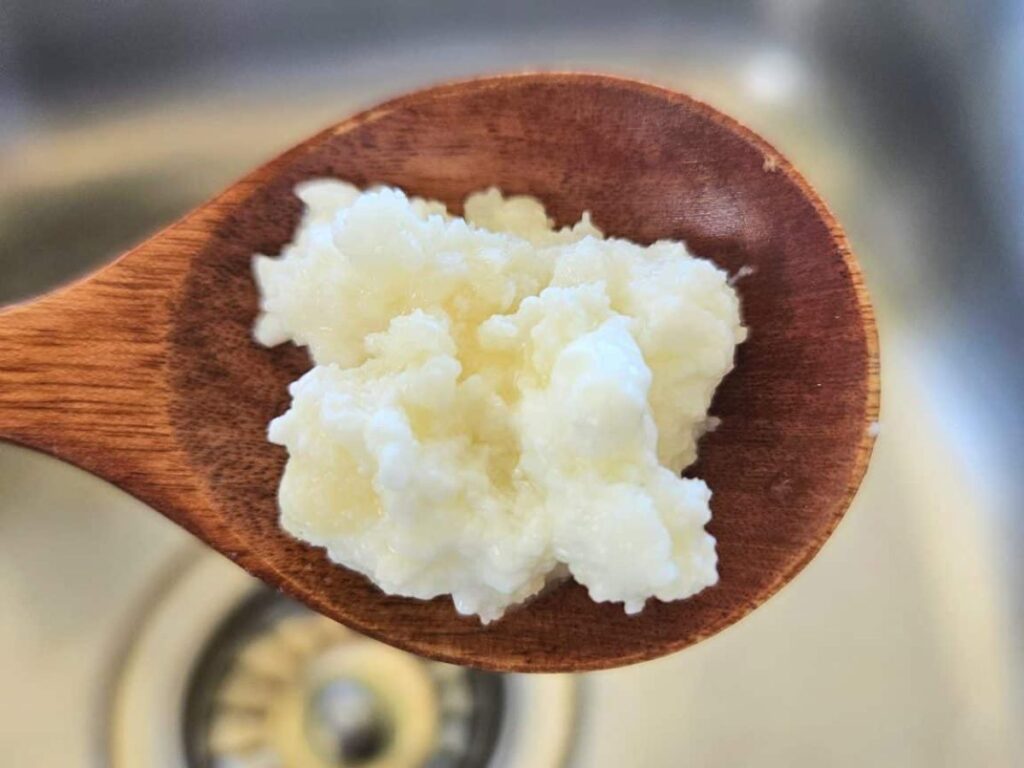
How To Make Homemade Milk Kefir And Its Benefits
Learn how to make homemade milk kefir and all it’s wonderful benefits. Milk kefir is milk that is fermented with Kefir grains.
It is thick with a tangy taste and rich in beneficial probiotics your body needs. I reckon this is one of the main reasons why my kids and I rarely ever get sick.
Below I will show you how easy it is to make this delicious nutritious drink for you and your family!
Why Kefir?
Kefir was one of the first fermented foods I ever made. It is super easy to do and requires very little equipment.
All you need is a glass jar, milk and kefir grains and you are good to go. The grains can last forever if taken care of so it’s something you only need to purchase one time and is very cheap to buy.
We use kefir in our smoothies just about every day, but you can also use it to make kefir cheese, kefir chia pudding, dressings and dips as well.
It is very simple to make and can’t really be messed up which is great if you are new to ferments! Plus, it works on several different types of milks!
This post contains affiliate links, which means I make a small commission at no extra cost to you. See my full disclosure, Policy!
Benefits of Milk Kefir
Kefir is loaded with beneficial probiotics! We need healthy bacteria in our gut to digest food properly, to help our bodies make nutrients, and they even send happy signals to the brain.
If you haven’t heard about the gut brain connection, you should start looking into it.
Kefir has many benefits due to its array of nutrients and probiotics. If you google kefir benefits online you will find a lot of information and studies showing all of its health benefits.
It has antibacterial properties, has been shown to improve bone health, improve digestive health, is low in lactose and has been shown to improve allergy symptoms.
What Is Milk Kefir?
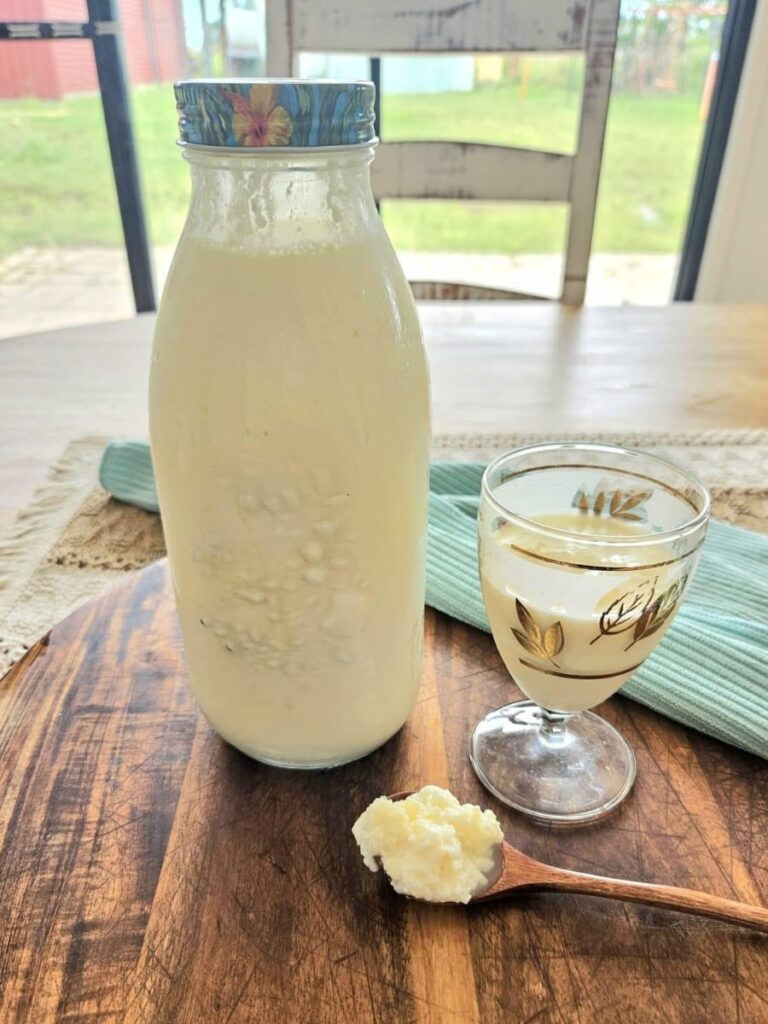
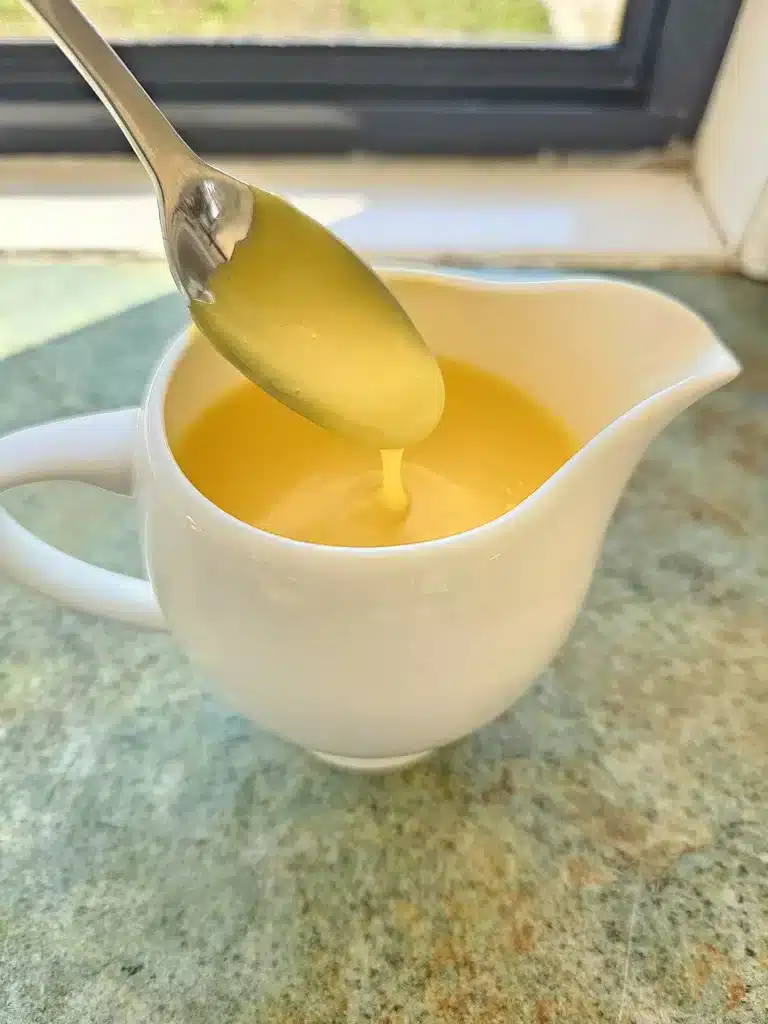
Milk kefir is milk that has kefir grains added into it at room temperature. The milk starts to ferment over a 24 hour period and produces lactic acid from the lactose.
The lactic acid produced is what gives it is sour tangy flavour. The drink is very similar to a drinkable yoghurt but with a lot more beneficial bacteria in it.
Tips For Making Homemade Milk Kefir
- The milk will ferment slower or faster depending on the temperature of your house. A slower cooler ferment is less tangy and generally a lot thicker compared to a faster hotter ferment.
- If it starts to separate that is fine, you can definitely still drink it! The whey is just separating from the curds and can be mixed back in if you want. This lets you know the grains are probably getting hungry though and have eaten up most of the lactose in the milk.
- You only need about 1tbsp of kefir grains per litre or 4 cups of milk.
- Kefir grains are alive and will multiply which is normal. You can give extra grains away to family and friends or sell them on!
What You Will Need
- 1litre Mason Jars. Depending on the quantity you want to make will depend on the size. One litre jars are good sizes to start with.
- Plastic Lids. Plastic lids to go with your mason jar, metal lids will erode with time!
- Strainer any type of strainer will do.
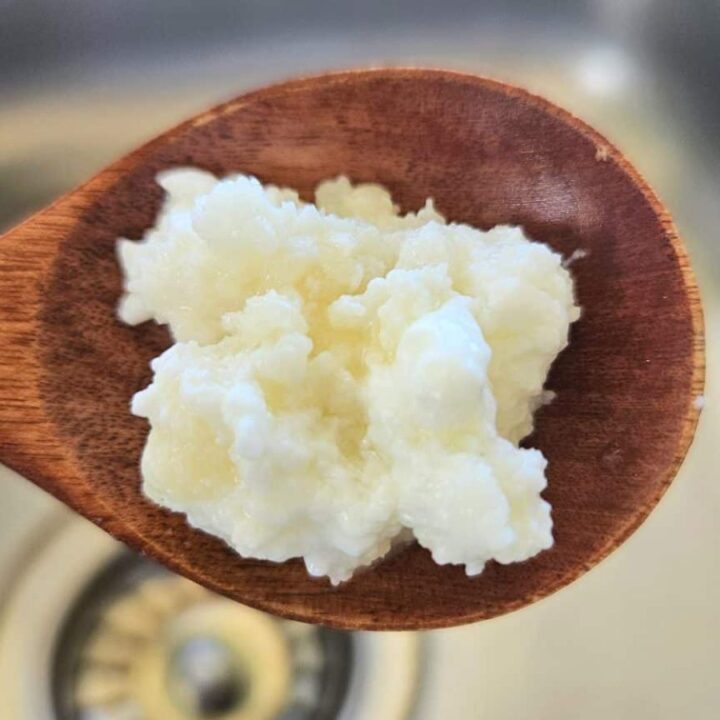
- Kefir grains 1 tablespoon is all you need to make 1 litre of milk kefir. I recommend sourcing fresh grains over online grains if possible.
How To Make Milk Kefir
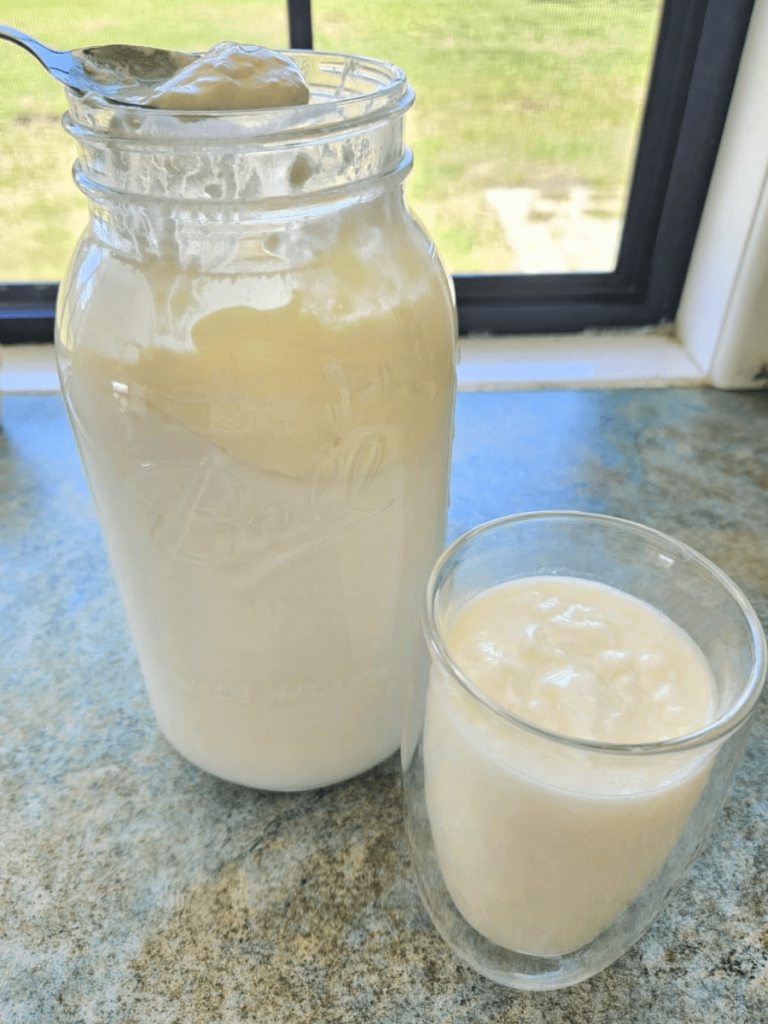
Place one tablespoon of grains into a clean mason jar. Fill the jar with 1 litre of milk. If you have more kefir grains you can add more milk. I place the lid on loosely over the jar, don’t screw it on tight!
Let the milk sit out on the counter at room temperature for about 24 hours until it is the desired taste and thickness that you like. If it’s hotter it could be less time and if its colder it could take longer to ferment.
Strain the kefir grains using a stainer and place the milk in the fridge, with a lid, for up to 2-3 weeks.
The kefir grains will now need fresh milk added to it and make sure to cover with a lid. They can either be fermented again or you can place this batch in the fridge for up to a week until you are ready to use again.
You can use a variety of different milks other than ultra pasteurized milk which will not work. You can use nut milks as well but you won’t get the same bacteria and health benefits compared to cow milk.
The grains will need to be added to cow’s milk after fermenting nut milks a few times to revive them as they feed on lactose in milk.
How To Use Milk Kefir
- You can drink it plain as is or even do a 2nd ferment!
- If you want to do a 2nd ferment after you have removed the kefir grains you can add some fruit to your milk kefir and allow it to sit another 4-12 hours on the counter. The milk will eat the sugar and take on some of the sweetness and flavour from the fruit added to it.
- Add it to smoothies. We particularly love making a chocolate avocado smoothie with it!
- Add it to your cereals or granola
- Make kefir chia pudding, dressings, kefir cheese or popsicles with it!
- Use it in place of butter milk for pancakes and waffles!
Questions And Answers
What’s the best milk to make milk kefir?
Ideally the best milk to use is full cream milk. This milk can come from a cow, sheep, goat or camel. But kefir grains do best in whole milk.
You can use skim milk if you like but avoid any ultra pasteurised milk. Your grains will not like it and will die.
Can you use non-dairy milk with milk kefir grains?
Yes, you can use oat, almond, coconut or any other nut milk you like with your kefir grains. Now every so often they do need to get boosted up with normal milk just to keep them healthy and strong.
But non-dairy milk kefir is delicious, creamy and a great alternative option.
Can you drink milk kefir everyday?
Yes, you can drink milk kefir every day. It’s filled with lots of probiotics and good fats. You should start with a little at first while your stomach gets used to it.
You can gradually increase the amount you drink to obtain all of its health benefits.
How To Make Milk Kefir
Learn how to make a thick creamy milk kefir drink. Full of healthy probiotics.
Ingredients
- 1 tablespoon kefir grains
- 1 litre milk (4 cups) I prefer whole milk or raw milk when possible.
Instructions
1. Place 1 tablespoon of grains into a clean glass jar.
2. Pour the milk in leaving a one inch gap from the top to even 1 and a half inches as it does expand.
3. Cover loosely with a plastic lid or people use towels with a rubber band. I just use the same lid and don't tighten it.
4. Let the milk kefir sit out on the counter away from direct sunlight for about 24 hours until it reaches desired thickness and taste.
5. Strain kefir grains using a strainer.
6. Place the milk kefir in the fridge with the lid on tight will last several weeks in the fridge this way.
7. Place the grains into another clean glass jar with milk and either ferment another batch of milk or place it in the fridge until you are ready to ferment another batch.
8. It will need fresh milk within another 7 to 10 days to keep grains strong.