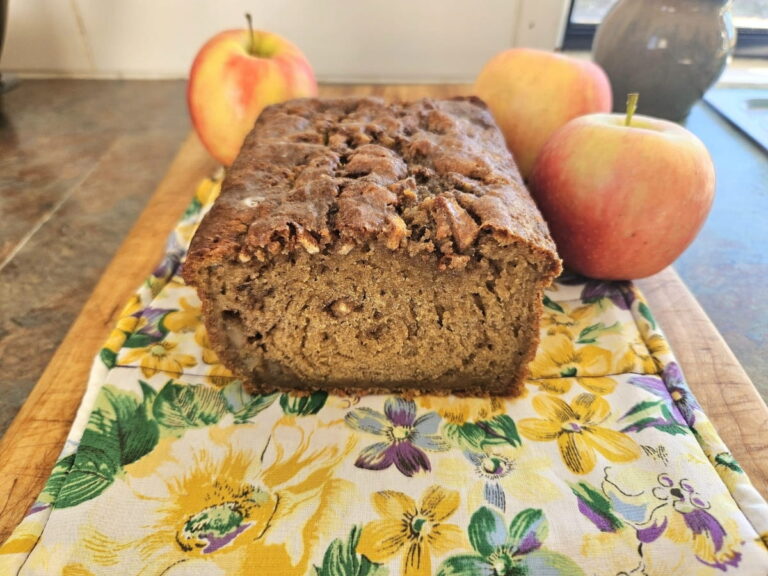
Simple Sourdough Artisan Bread For Beginners
If you are just starting out, you will love this recipe. It is a pretty easy sourdough bread recipe that any beginner can make. There is no kneading and no stretch and folds.
You will love how simple this recipe is and the lovely result of making your own homemade fresh sourdough artisan bread from scratch. This bread has a lovely crunchy outside with a soft and fluffy inside, a sure win for the whole family.
Make sure to check out the simple tips farther down to help you make your best bread yet! I also share different ways you can use this bread that you might find exciting to try!

Why Make Your Own Sourdough Bread?
There are many reasons why people make their own sourdough breads at home. The ingredients are healthier and there is way less of them for one thing.
Sourdough also decreases the gluten content and phytic acid content so you can absorb more nutrients from the flour. Grains contain phytic acid which strip your body of nutrients, which is why you should always soak your grains first in warm water.
Making your own bread at home is also incredibly rewarding and there is nothing that taste quite as good, or smells quite as amazing as fresh sourdough bread!
What You Need To Make This Recipe
This post contains affiliate links which means I may earn commission at no extra cost to you. See my policy!
There are a few key things you need in order to make this recipe and a few things that are optional but totally worth getting if you plan on baking more often!
Equipment
Dutch Oven: These are so versatile to have in the kitchen! This brand is a nice cast iron nonstick one, with many different colours to choose from! Tips farther down if you don’t own a Dutch oven.
Banneton Basket: You will leave your sourdough bread in the banneton basket and let it rise for several hours. You can use a large bowl if desired. This proofing basket comes as a set with a dough whisk, dough scraper and a scoring lame for making the pretty designs on the bread!
Dough Whisk, fork or your hands
Parchment Paper
Measuring cups and spoons: I love my stainless-steel measuring cups and spoons!
Scoring Lame: For slicing the bread so it rises properly and also handy for making beautiful designs on your bread! You can buy these singly or in a sourdough starter set!
Ingredients
Sourdough Starter: You need sourdough starter than has been fed either in the last 12 to 24 hours if you leave yours out. Or within the last 48ish hours if you leave it in the fridge.
Flour: I use Khorasan white flour which is an ancient grain and works super well. Similar to white flour. You can use whatever flour you like but your results can vary depending on the flour you use. Some flour absorb more liquid so need a little more water added to the beginning.
Water: Filtered water is ideal.
Salt: Salt adds a little flavour and minerals I use sea salt but you can use himalayan salt as well.
Oil: I use olive oil to give it a little extra softness, any sort of fat would do fine.
Step By Step Instructions
1. First mix all your ingredients together. I use a dough whisk and add 1 cup of flour at a time until I can no longer mix it with a dough whisk. Then I finish turning it into a smooth ball with my hands.

2. Oil a bowl and place your dough into it. Cover the bowl with a wet towel or cling wrap so the crust doesn’t harden. Allow it to ferment anywhere from 6-12 hours until it doubles in size. This varies depending on the temperature of your house.
3. Once it has doubled take it out, flatten your dough a bit, roll it up, pinch the seams. Turn your ball slightly and pull it towards you to increase tension. Do this a few times until you have a nice round dough ball.
4. Flour a banneton basket and place your dough ball seam side down into it. Place the banneton basket into a plastic bag or cover with a wet tea towel. Let dough rise 2-4 hours on the bench or you can place it in the fridge anywhere from 12-18 hours to rise.

5. Preheat your oven to 250c with the Dutch oven in it. You want your Dutch oven nice and hot as well.
6. Take your bread out of the fridge and place onto parchment paper. Then flour the top.
7. Score it with a bread lame, sharp knife or razor blade. This just means you slice the top layer of the bread so it can open nicely down the middle or into 4 sections and can create pretty patterns.

8. Then carefully place your dough with parchment paper into your hot Dutch oven. I put 1 to 2 ice cubs under the parchment paper and put the lid on to increase humidity for a better rise.

9. Drop the temperature to 220c and place the Dutch oven with lid on into the oven and let it bake for 30 minutes. Then carefully remove the lid and place it back in the oven for another 10 minutes to form a hard crust.

10. Once you have a nice hard crust, carefully take your loaf out of the Dutch oven and let it rest on a cutting board or cooling rack for at least 45 minutes before cutting as it’s still cooking on the inside. Then enjoy!

Sourdough Bread Tips
- Make Sure Your starter has been fed within the last 24 hours if you leave it out on the counter. If your sourdough starter lives in the fridge like mine it will work with starter fed 2 or 3 days before
- Add ice cubes in your Dutch oven right before you place your loaf in. This will increase the humidity which allows your bread to rise more before it forms a hard crust and stops rising.

Simple Sourdough Artisan Loaf Recipe
Beginner sourdough artisan loaf recipe. A delicious homemade bread. Soft on the inside and crunchy on the outside.
Ingredients
- 3/4 cup Active sourdough starter
- 1 cup filtered water
- 1 tbsp olive oil
- 3 cups Khorasan flour or any flour of your choice
- 1 tsp sea salt
Instructions
- First mix all your ingredients together. I use a dough whisk and add 1 cup of flour at a time until I can no longer mix it with a dough whisk. Then I finish turning it into a smooth ball with my hands.
- Oil a bowl and place your dough into it. Cover the bowl with a wet towel or cling wrap so the crust doesn't harden. Allow it to ferment anywhere from 6-12 hours until it doubles in size. This varies depending on the temperature of your house.
- Once it has doubled take it out, flatten your dough a bit, roll it up, pinch the seams. Turn your ball slightly and pull it towards you to increase tension. Do this a few times until you have a nice round dough ball.
- Flour a Banneton basket and place your dough ball seam side down into it. Place the banneton basket into a plastic bag or cover with a wet tea towel. Let dough rise 2-4 hours on the bench or you can place it in the fridge anywhere from 12-18 hours to rise.
- Preheat your oven to 250c with the Dutch ovenin it. You want your Dutch oven nice and hot as well.
- Take your bread out of the fridge and place onto parchment paper. Then flour the top.
- Score it with a bread lame, sharp knife or razor blade. This just means you slice the top layer of the bread so it can open nicely down the middle or into 4 sections and can create pretty patterns.
- Then carefully place your dough with parchment paper into your hot Dutch oven. I put 1 to 2 ice cubs under the parchment paper and put the lid on to increase humidity for a better rise.
- Drop the temperature to 220c and place the Dutch oven with lid on into the oven and let it bake for 30 minutes. Then carefully remove the lid and place it back in the oven for another 10 minutes to form a hard crust.
- Once you have a nice hard crust, carefully take your loaf out of the Dutch oven and let it rest on a cutting board or cooling rack for at least 45 minutes before cutting as it's still cooking on the inside. Then enjoy!
What To Use Instead Of A Dutch Oven For Bread?
While a Dutch oven is ideal for making this bread there are a couple of alternative options you can try if you don’t have one!
- Use a springform cake pan with high sides. Place your loaf in the cake pan and cover with aluminium foil for the initial recipe and then uncover when the recipe calls for it to be uncovered.
- You can use a bread pan to make your loaf if you like, but it won’t come out round.
- You can also use a baking pan, once again cover with aluminium foil for the initial part of the recipe then uncover when recipe calls for it to be uncovered.
Ways To Use Sourdough Artisan Bread
There are so many ways you can use your sourdough artisan bread. I’ll share ideas on how you can use this bread fresh or even when it’s several days old, so it doesn’t go to waste!
- You an of course just slice it for sandwiches or to dip in soup.
- You can turn it into a cob loaf, cut the middle out and put a dip on the inside!
- Make French toast with your bread.
- If your bread is getting a few days old, try doing a French toast casserole! It’s so delicious and can be started the night before!
- If your bread is going harder turn it into sourdough breadcrumbs!